Assistant Professor, Interdisciplinary Artist/Designer (T/TE) at University of Arizona / Tucson, AZ, USA #Jobs

Artistic Employee (m/f/d) Creative Technologist at Bauhaus-University Weimar / Weimar, Germany #Jobs
#Arduino #ESP32 #RaspberryPi #MicroPython #JavaScript #sensors #actuatorts #microcontroller #interactive #lasercut #cnc #3DPrinting


[PROJET SEWITH - IMPRESSION AU BLOCK DE BOIS]
Durant les workshops SeWith, nous avons testé la fabrication de tampons découpés au laser pour l’impression « block printing » sur coton pour une personnalisation de vêtements sans ajouts de parties cousues.
Documentation technique du projet : https://fablabo.net/index.php/Fabrication_de_tampons_d%C3%A9coup%C3%A9s_au_laser_pour_l%27impression_%22block_printing%22_sur_coton
En savoir plus sur le projet SeWith : https://info.pingbase.net/sewith/
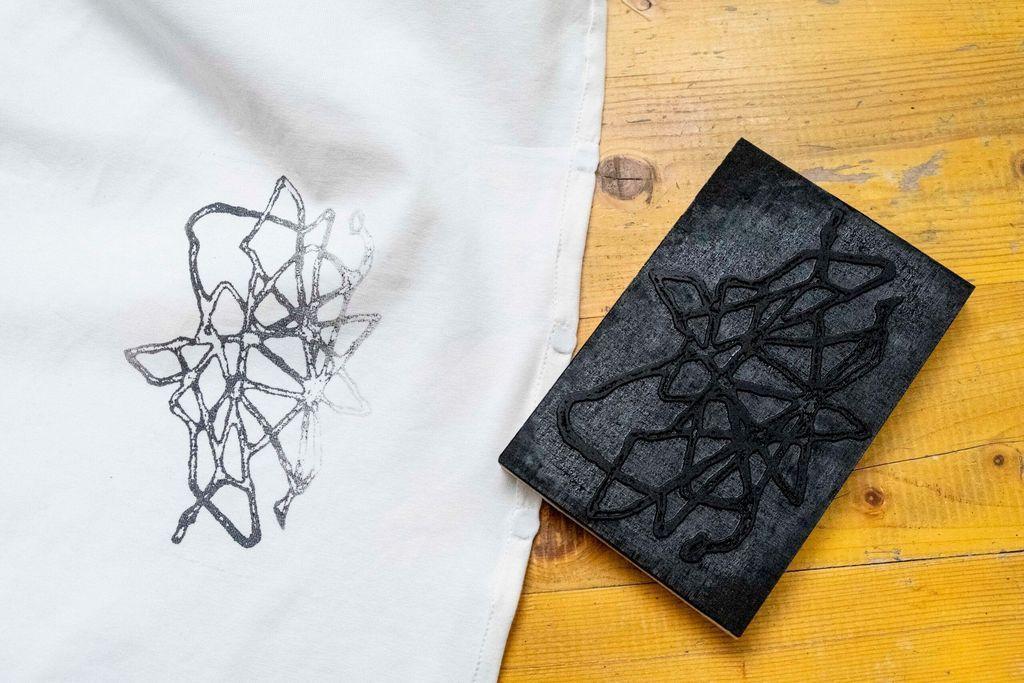

@AssoPiNG au vu du résultat, il me semble que rien ne vaut du linoleum découpé à la CNC ... j'ai fait ça dans le passé, et comparé récemment à l'impression 3D des tempons (PLA ou TPU) : rien à faire, le lino fonctionne bien mieux je crois.
je vais retenter l'impression par découpe CNC sur multiplex de peuplier, mais je ne m'attends pas à miracle, la souplesse et la porosité du lino se combinent bien mieux àmhexp #gravure #lino #gravuresurbois #cnc #laser #fablab
Andrew (Television Executive)
boosted

alcinnz
boosted
![Ari [APz] Sovijärvi](https://mstdn.games/system/accounts/avatars/109/694/642/012/928/060/original/ada29098202df017.jpg "Ari [APz] Sovijärvi")
Hello people! I've been on the Fediverse for couple of years now, so here's my re- #introduction
I'm Ari, better known by my tag APZ and this is my #pinball repair, #arcade and #retrogaming account. I mostly post about playing and repairing pinball machines, but I also work on #retrocomputing with all the classics.
An IT guy by day, I moonlight as a public pinball arcade here in #Finland with my partner @quester. This is purely a hobby of mine and I do this to keep my sanity and to keep pinball alive for the next generations of players. At the moment I own a bit over 30 pinball machines from 70s to 2020s.
A lot of what I do involves #electronics, #CAD for now obsolete parts and #3dprinting and tabletop #cnc to recreate them.
I love to #travel, usually to meet like-minded arcade collectors. I have a strong preference to #repair stuff instead of throwing it away. I'm a #linux user since mid-90s, having been part of #foss movement most of my life.

It is done. I finished making the CNC machine. It draws circuits on a copper plate, just how i wanted. It is rare for me to finish a project. I'm so incredibly happy about it 
The machine is still in kind of a rough shape. I will make proper power circuit and maybe a bluetooth for serial. Other then that, it is ready to be used 
(Part 7: Finished)
Okay I'm so incredibly excited to show this  The CNC machine is almost ready and here is a short video of the z axis at work, together with a 3d printed pen holding contraption (courtesy of my friend who kindly printed it for me 🥰)
I can't believe it works. Now all that remains is the software part 👀
Credits:
The 3d model used is by tranluan19 and can be found here: https://www.thingiverse.com/thing:5505579
(Part 6)
Michał "rysiek" Woźniak · 🇺🇦
boosted

#makers (in the US) Open Builds is going out of business and selling everything at a really good discount. There isn't a lot left in stock but I found a few useful things.
( #CNC & #3DPrinting related stuff )
#makers (in the US) Open Builds is going out of business and selling everything at a really good discount. There isn't a lot left in stock but I found a few useful things.
( #CNC & #3DPrinting related stuff )
Wiring placed on a prototype board. Both axis move!
I've run into problems initially, because the second chip wouldn't work no matter what I did but i finally found the issue. It was because arduino nano i'm using, specifically it's pins A6 and A7 𝗮𝗿𝗲 𝗮𝗻𝗮𝗹𝗼𝗴 𝗼𝗻𝗹𝘆 and to drive those chips, you need a digital signal. It took me an embarrassing amount of time to figure out and an unnecessary disassembly and assembly of the board. Hopefully this post will save somebody some debugging
(Part 5)
I've got movement!
I roughly connected one bridge to one axis to see if it would move at all and look at it! Look at it goooo 
I feel reinvigorated, I think i might actually be able to finish this project. Next up is putting all the wiring on a prototype board
(Part 4)
The axis are now mounted. This project just flooded me with dopamine initially, but with all the annoying problems i had, it got frustrating. I had trouble leveling and angling the axis correctly and the metal plates were a nightmare to drill holes for the screws. I had to obtain harder drills but this step was eventually a success. Next up is wiring the electronics
(Part 3)
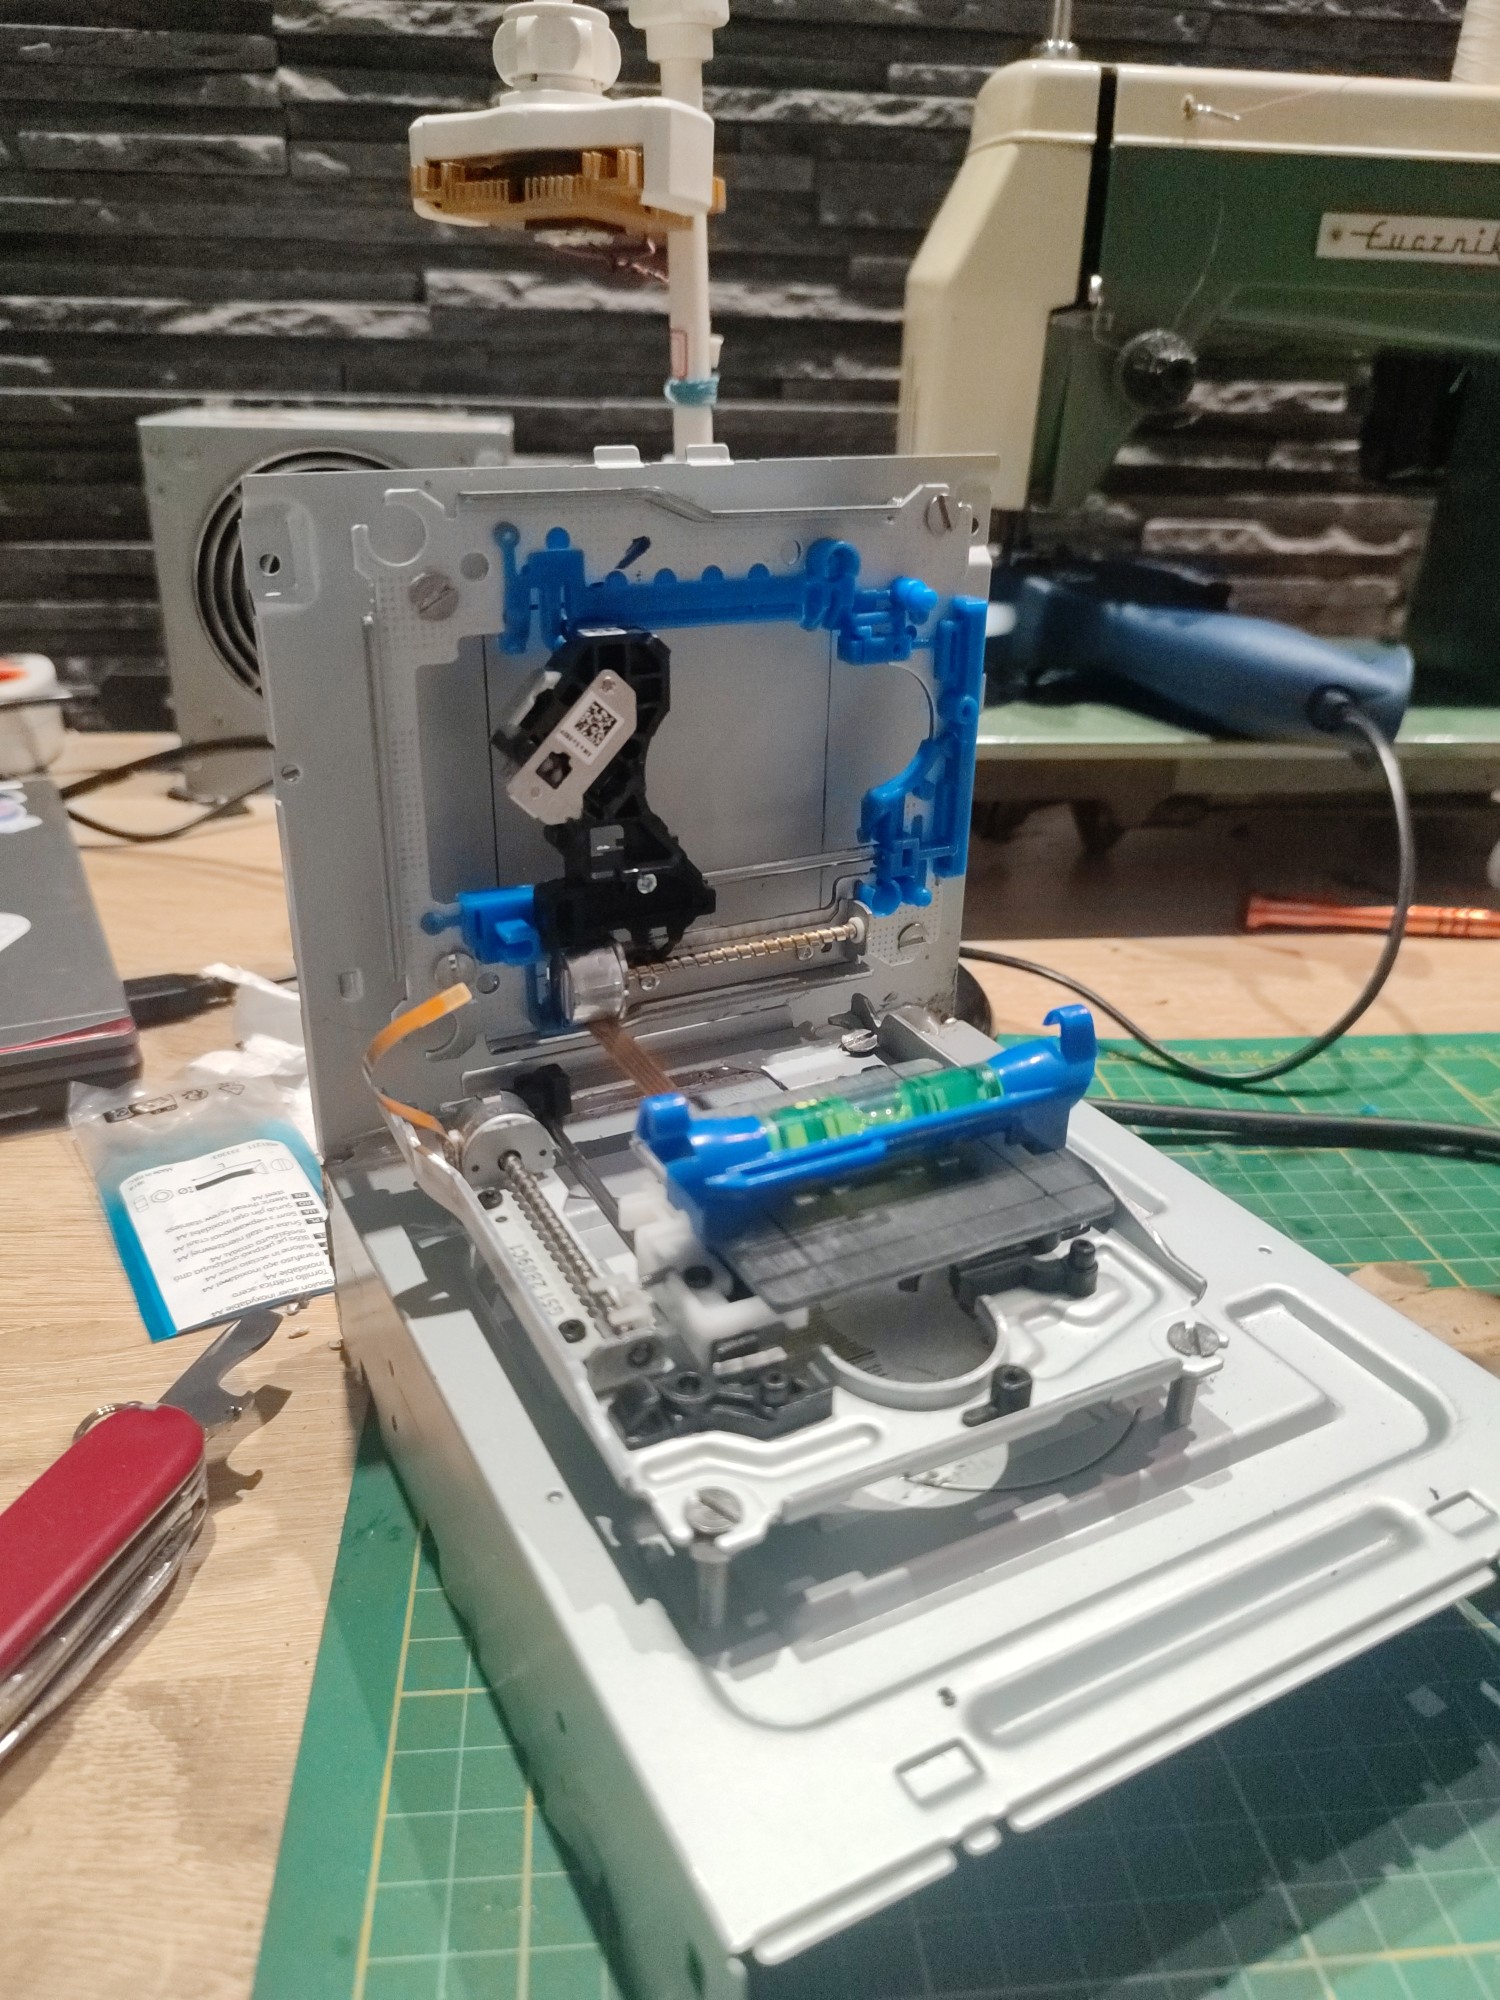
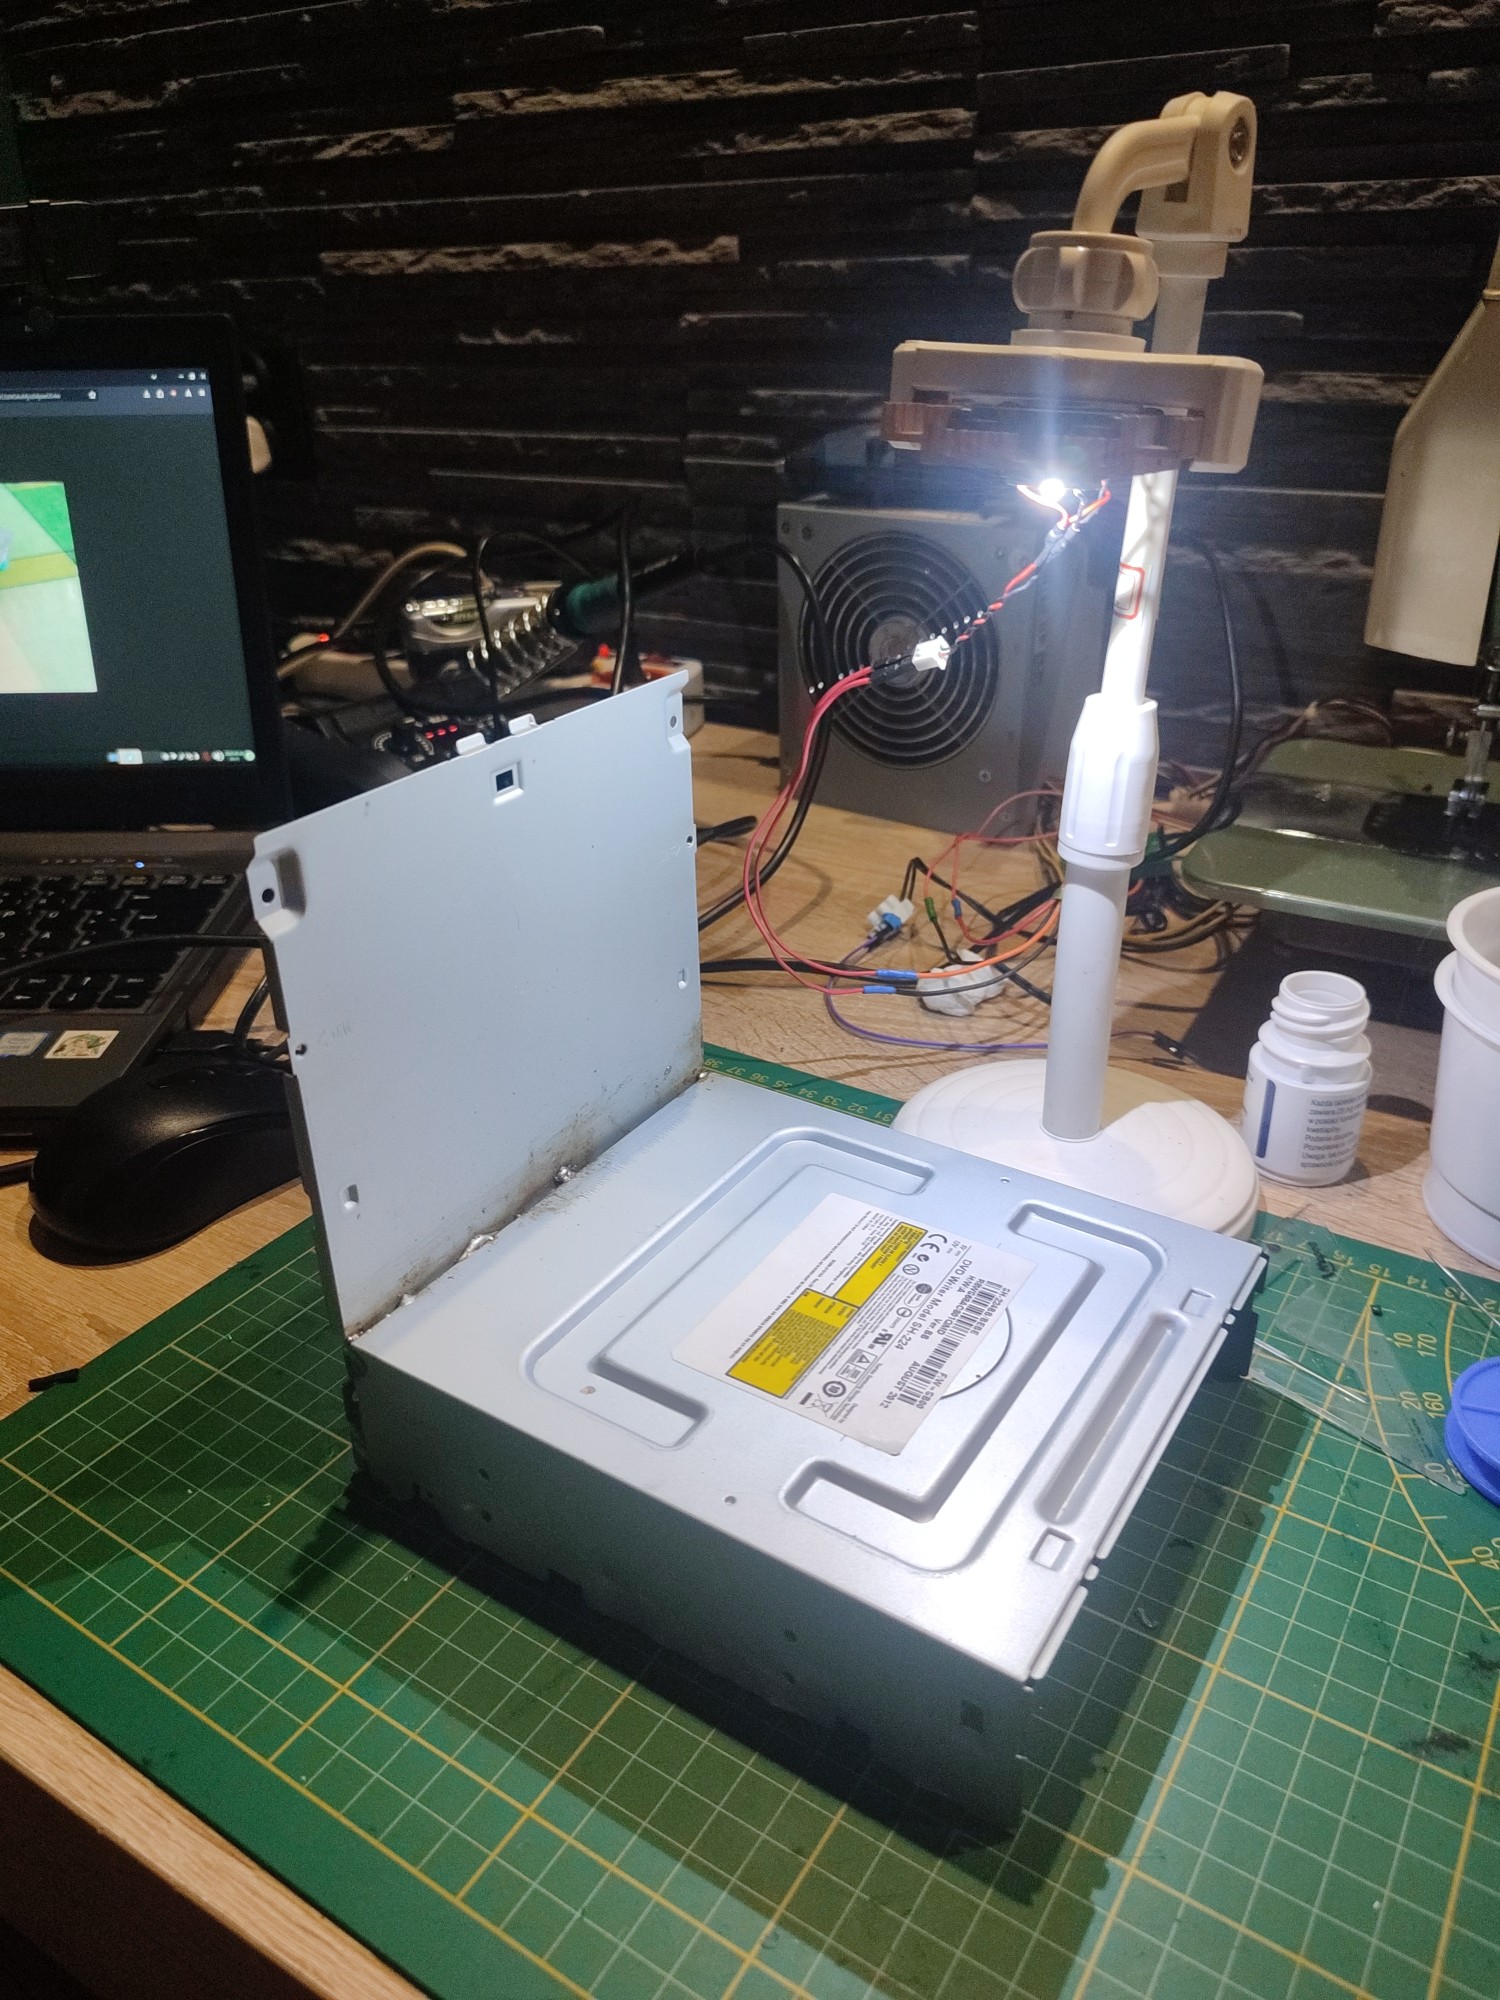
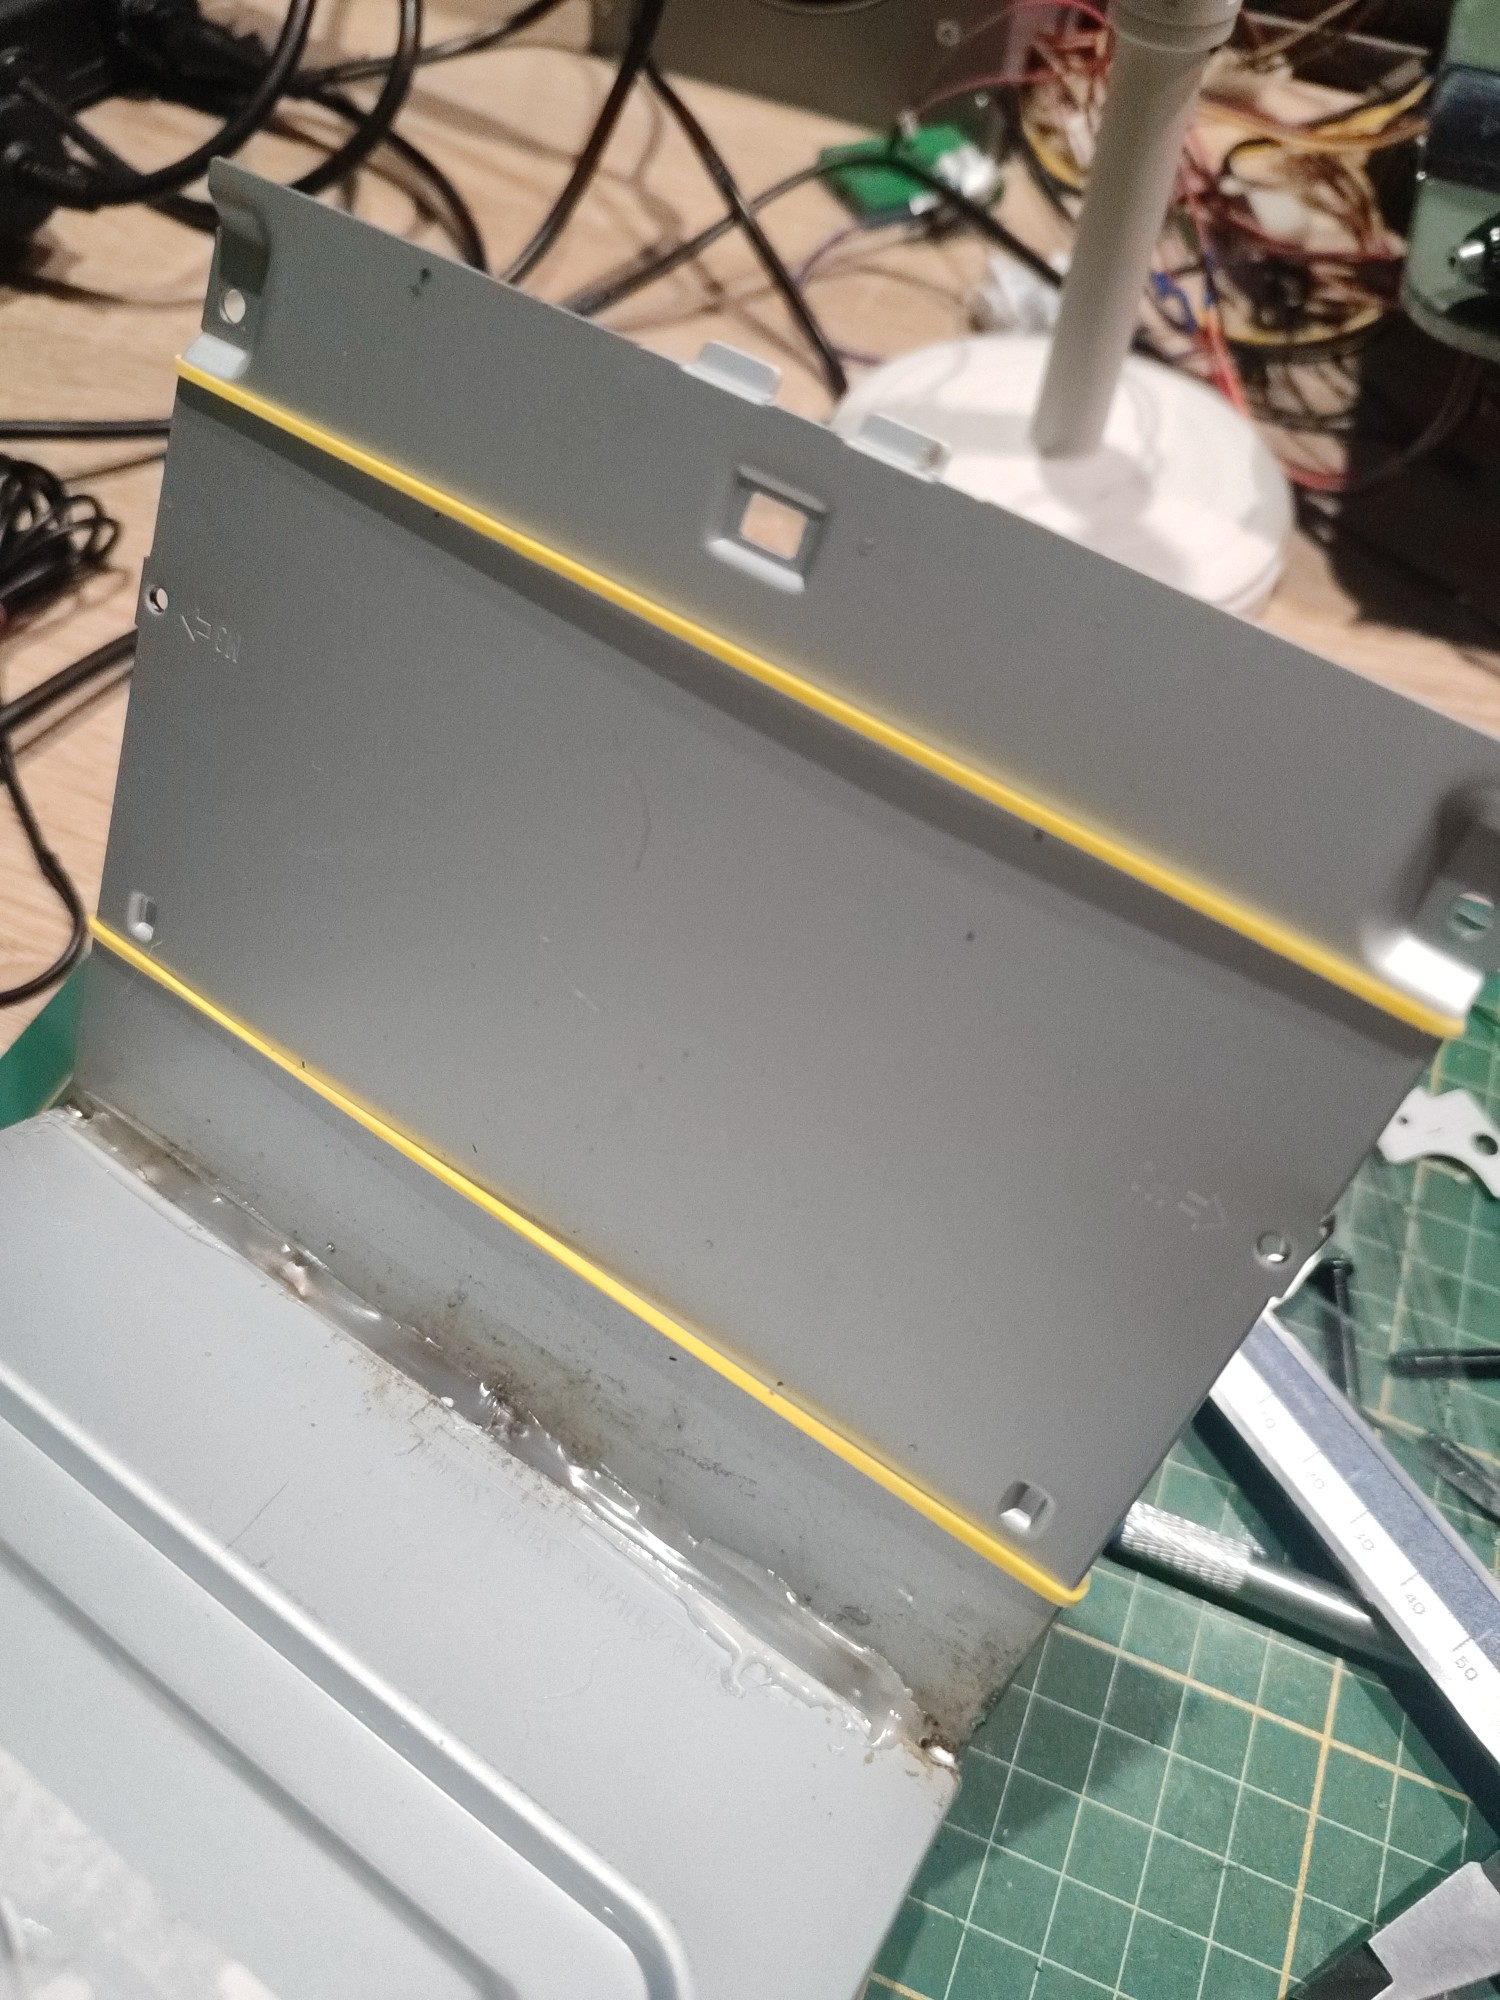
The scaffolding is ready, just like in the article, i found that the leftover metal chassis is perfect to be reused for this. I welded the vertical sheet using just a soldering tin with welding paste since i don't have a welding machine. It's a silly way to do it but it holds solid. Quick tip, use rubber bands to mark straight lines (see pic) when placing measurements.
(Part 2)
2 media