

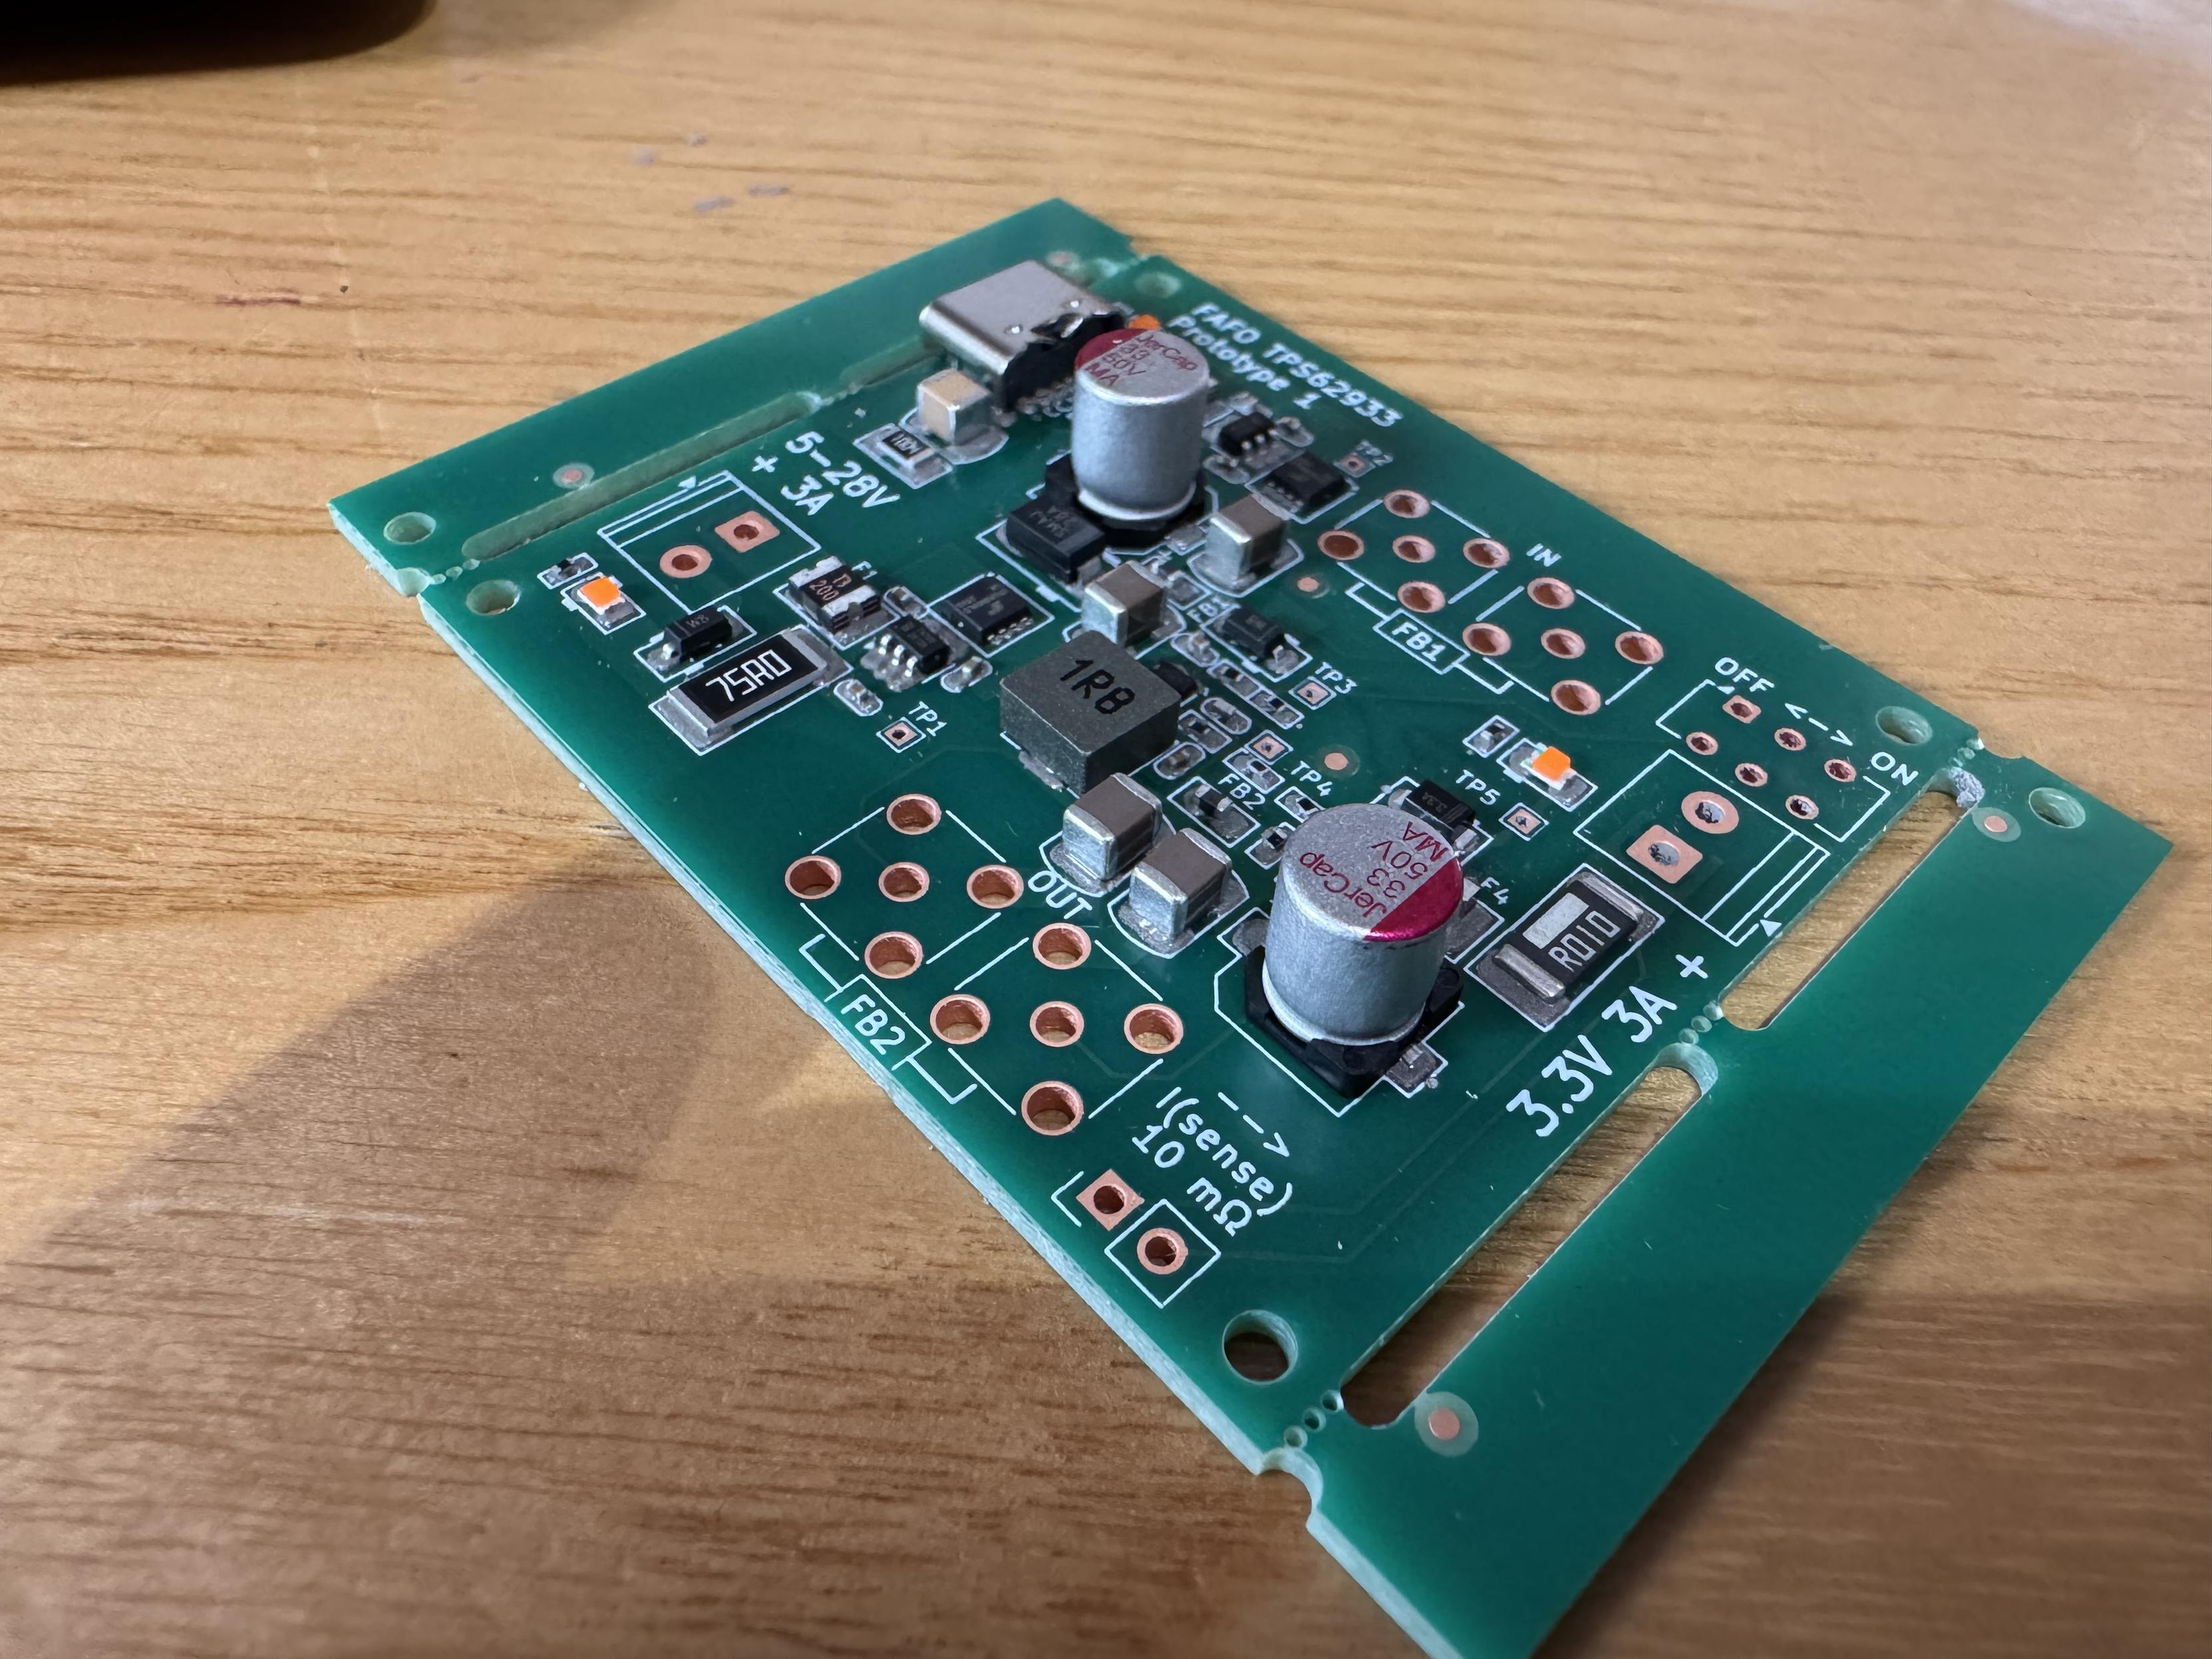
Today will be an electronics building day, assembling a prototype TPS62933P-based power supply board to get familiar with the chip before using them in upcoming designs.
0 Boosts
0 Likes
The starting point: a blank PCB. This time I got OSP finish so the pads look like bare copper.
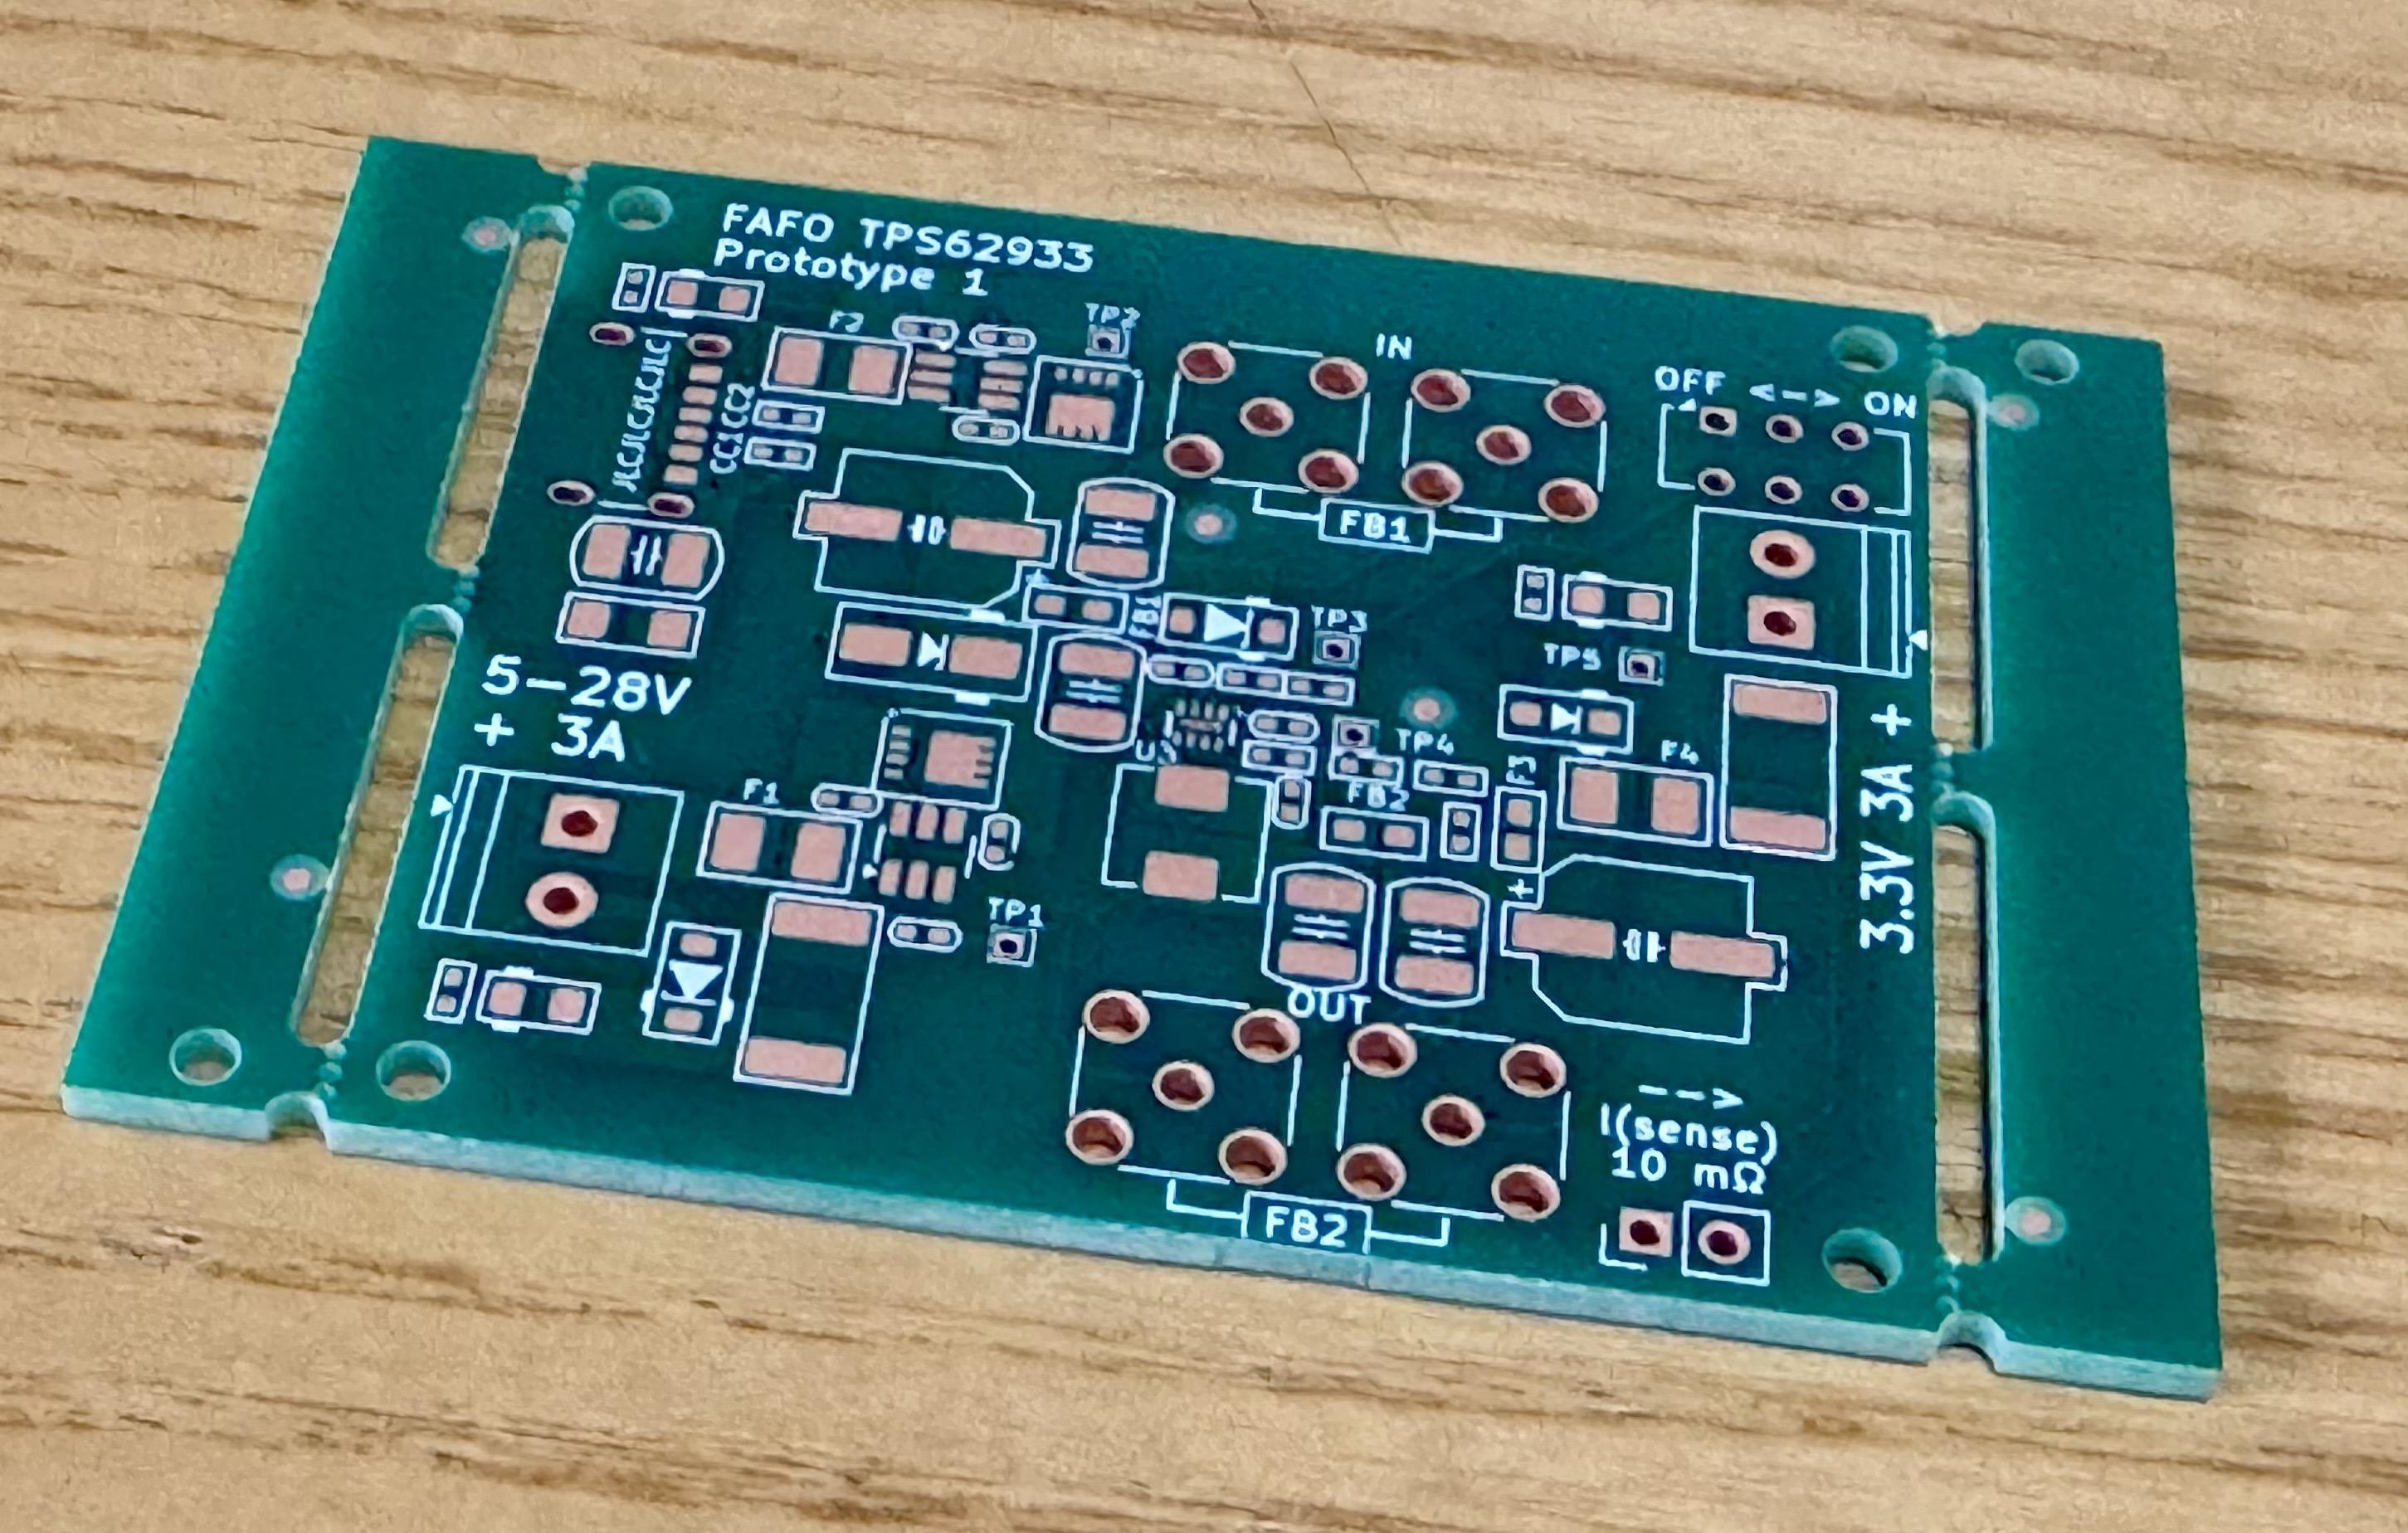


@jpm why did you go with OSP? I always end up using ENIG but OSP seems scary with the whole "don't bother trying to rework it more than once" issue. Is it not that bad?
@bipolaron it’s a $0 option with JLCPCB now, figured I’d give it a go and see how it works. Actually pretty happy with it, just needs plenty of flux during re-work

@jpm FAFO TPS62933P PROTOTYPE 1 - love it
Solder paste stencil. I don’t have a stencil jig, and I’ve always hated aligning stencils by hand, so this time I added two 2mm holes to both the PCB and stencil, and am using M2 screw sized pins for alignment.
2 media files
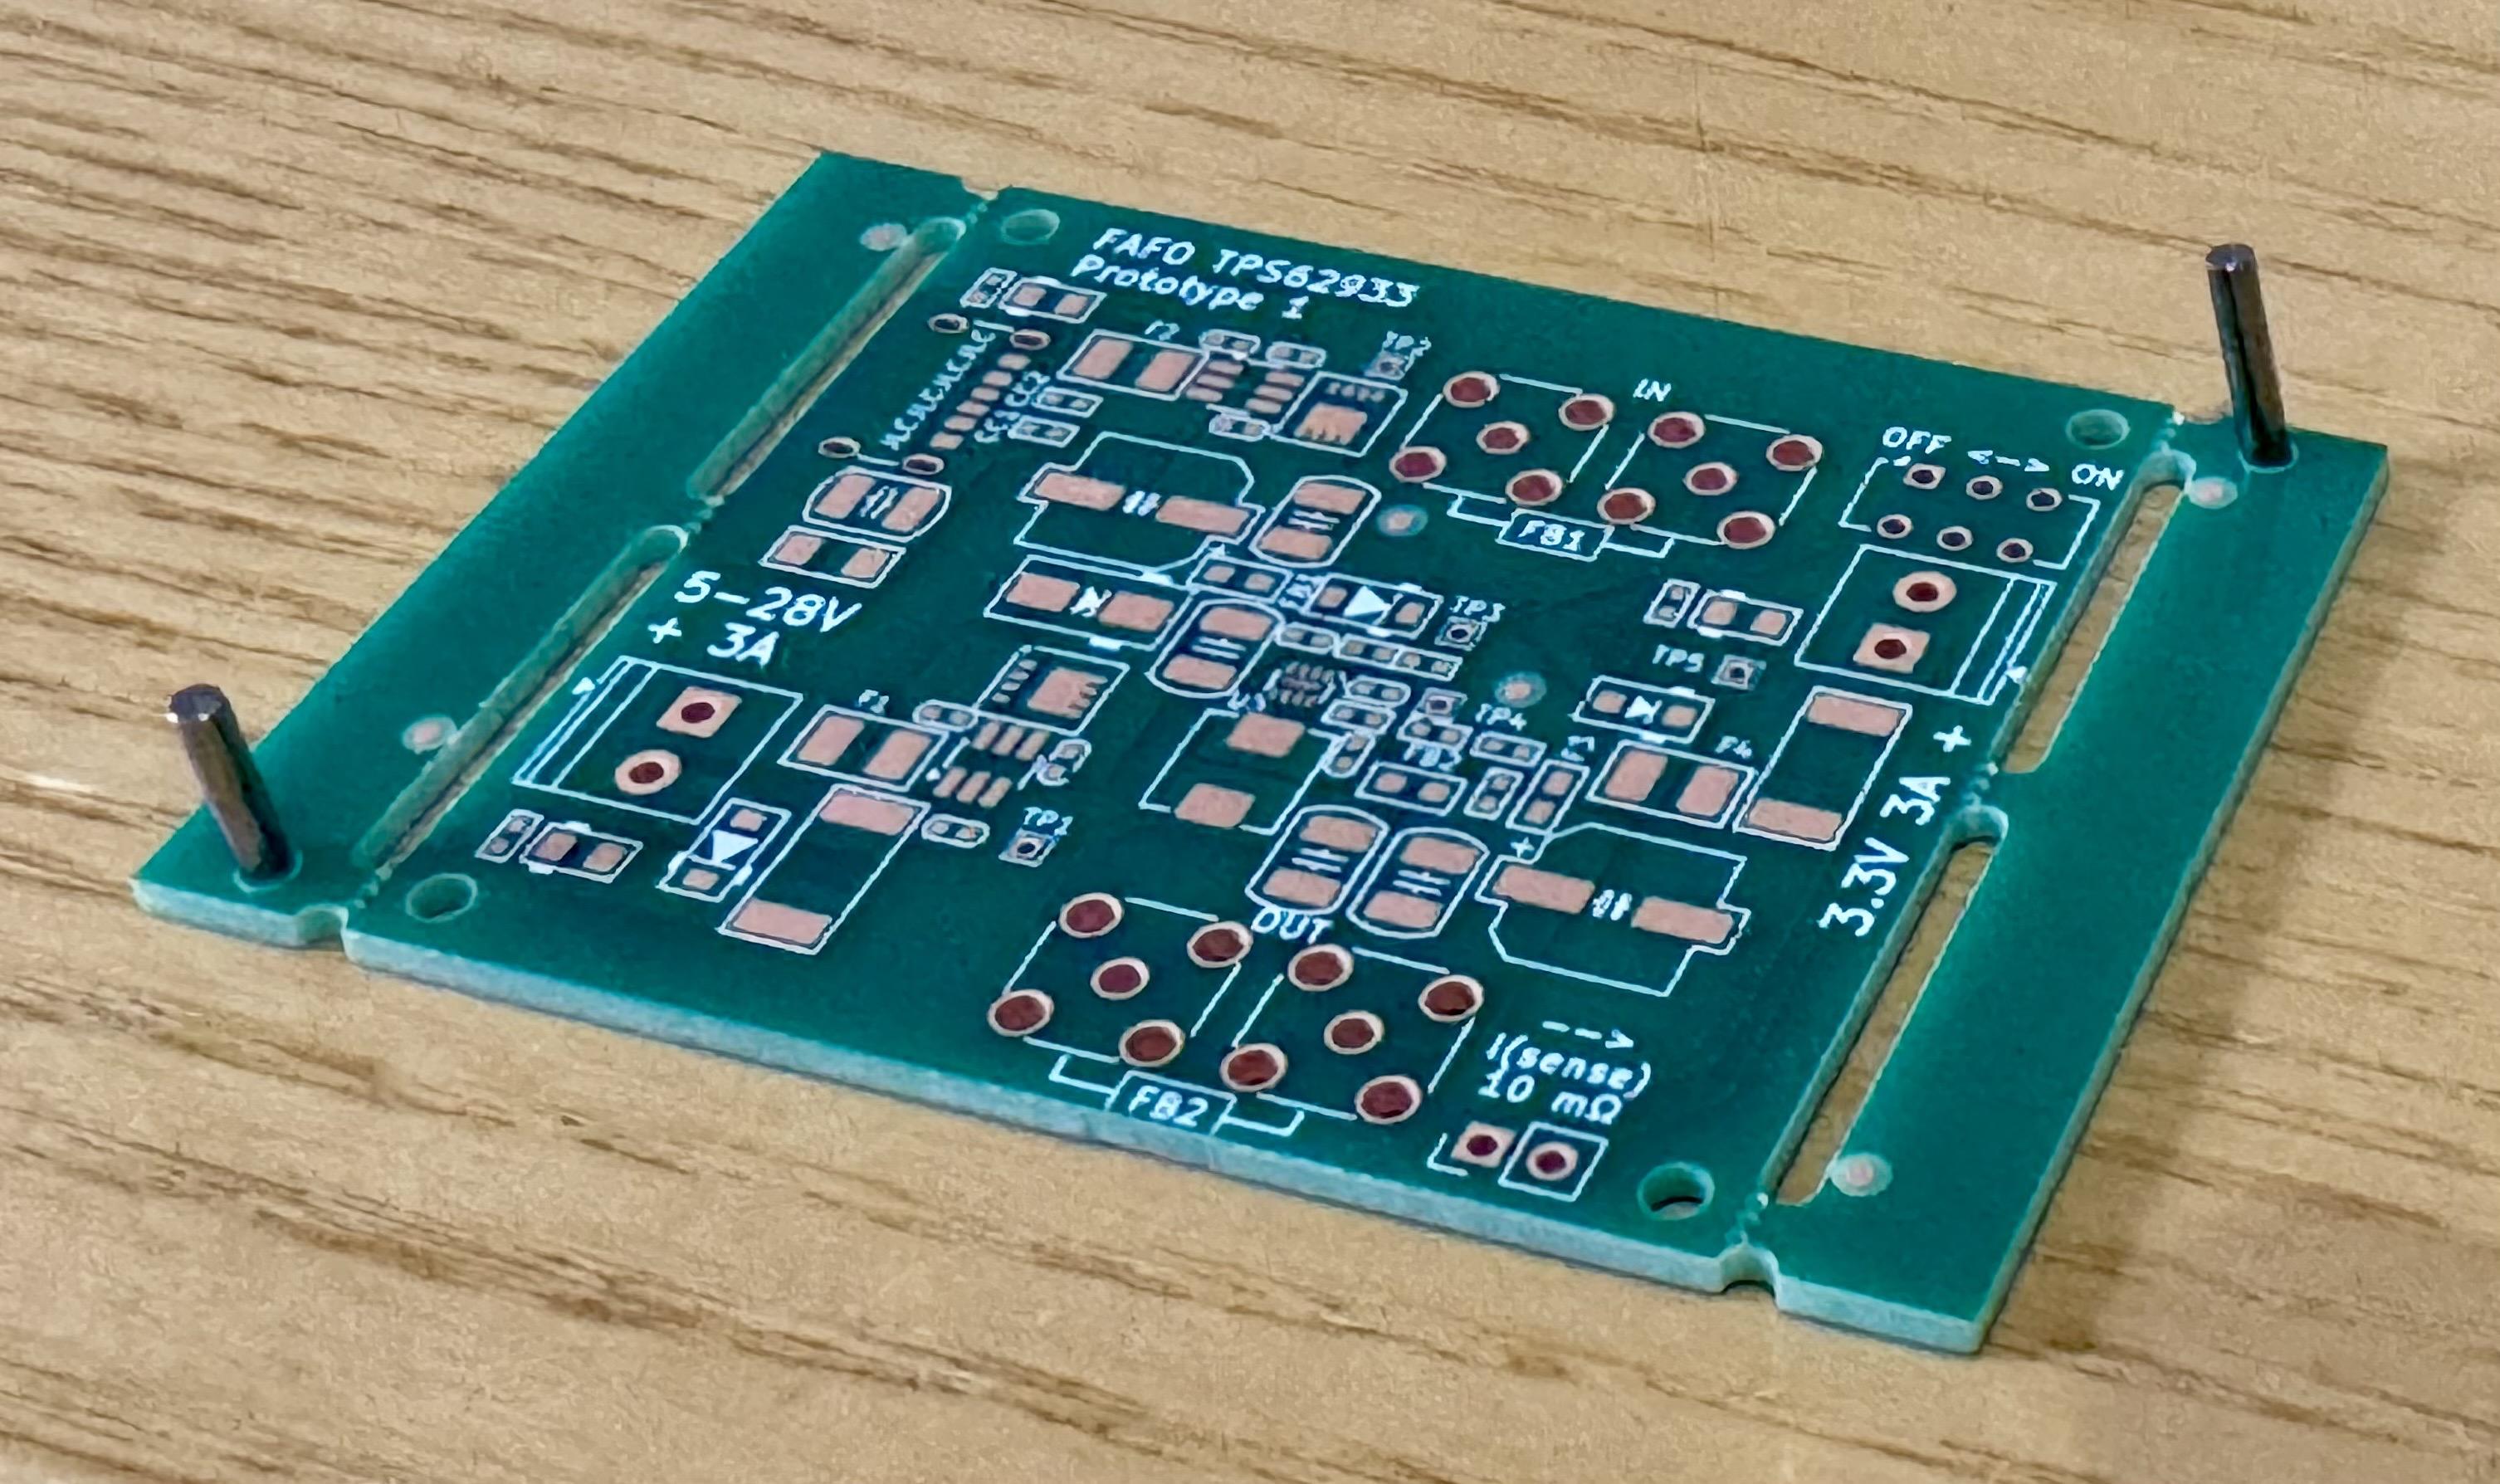
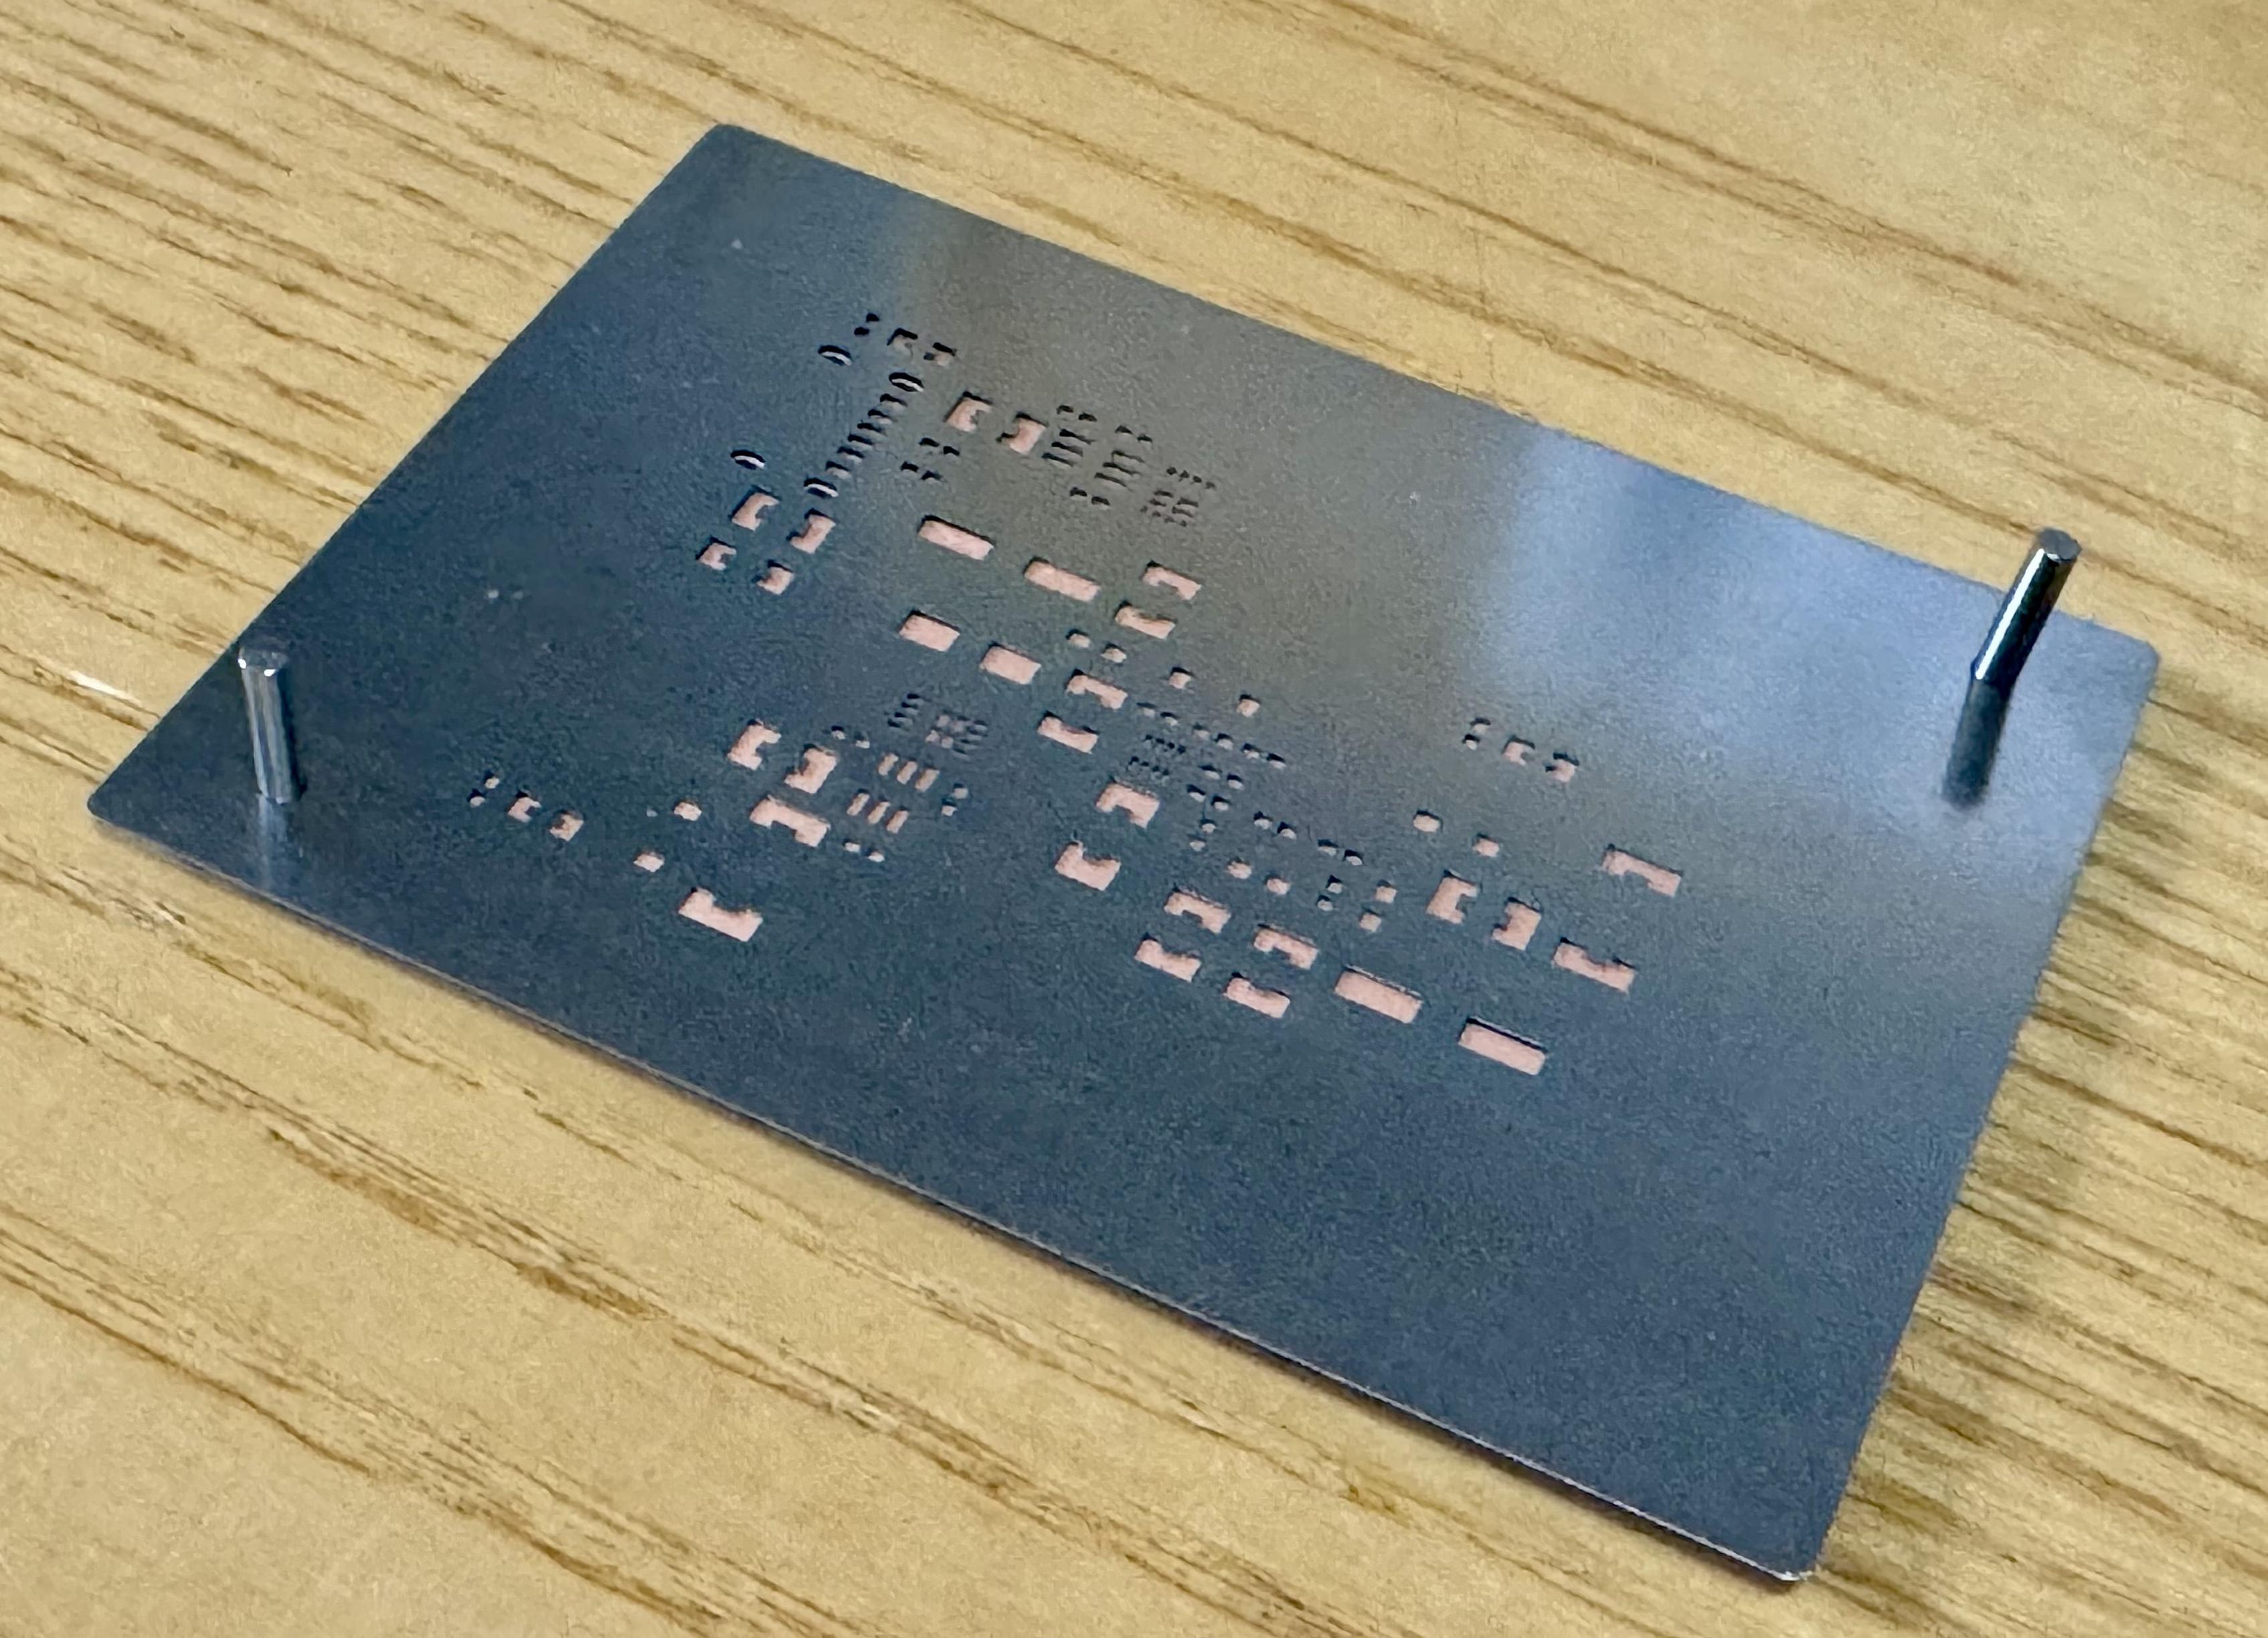




@petrillic @jpm @mos_8502 definitely stealing that alignment trick, are you then managing without even a frame? I can never get the floppy kind to work reliably.
and yeah, I have JLC give me rails on assembled boards always, but it is mixed on bare PCBs. maybe it's regional?


@petrillic @jpm What I usually do is use PCBs taped down as a sort of alignment jig, but this is way smarter.
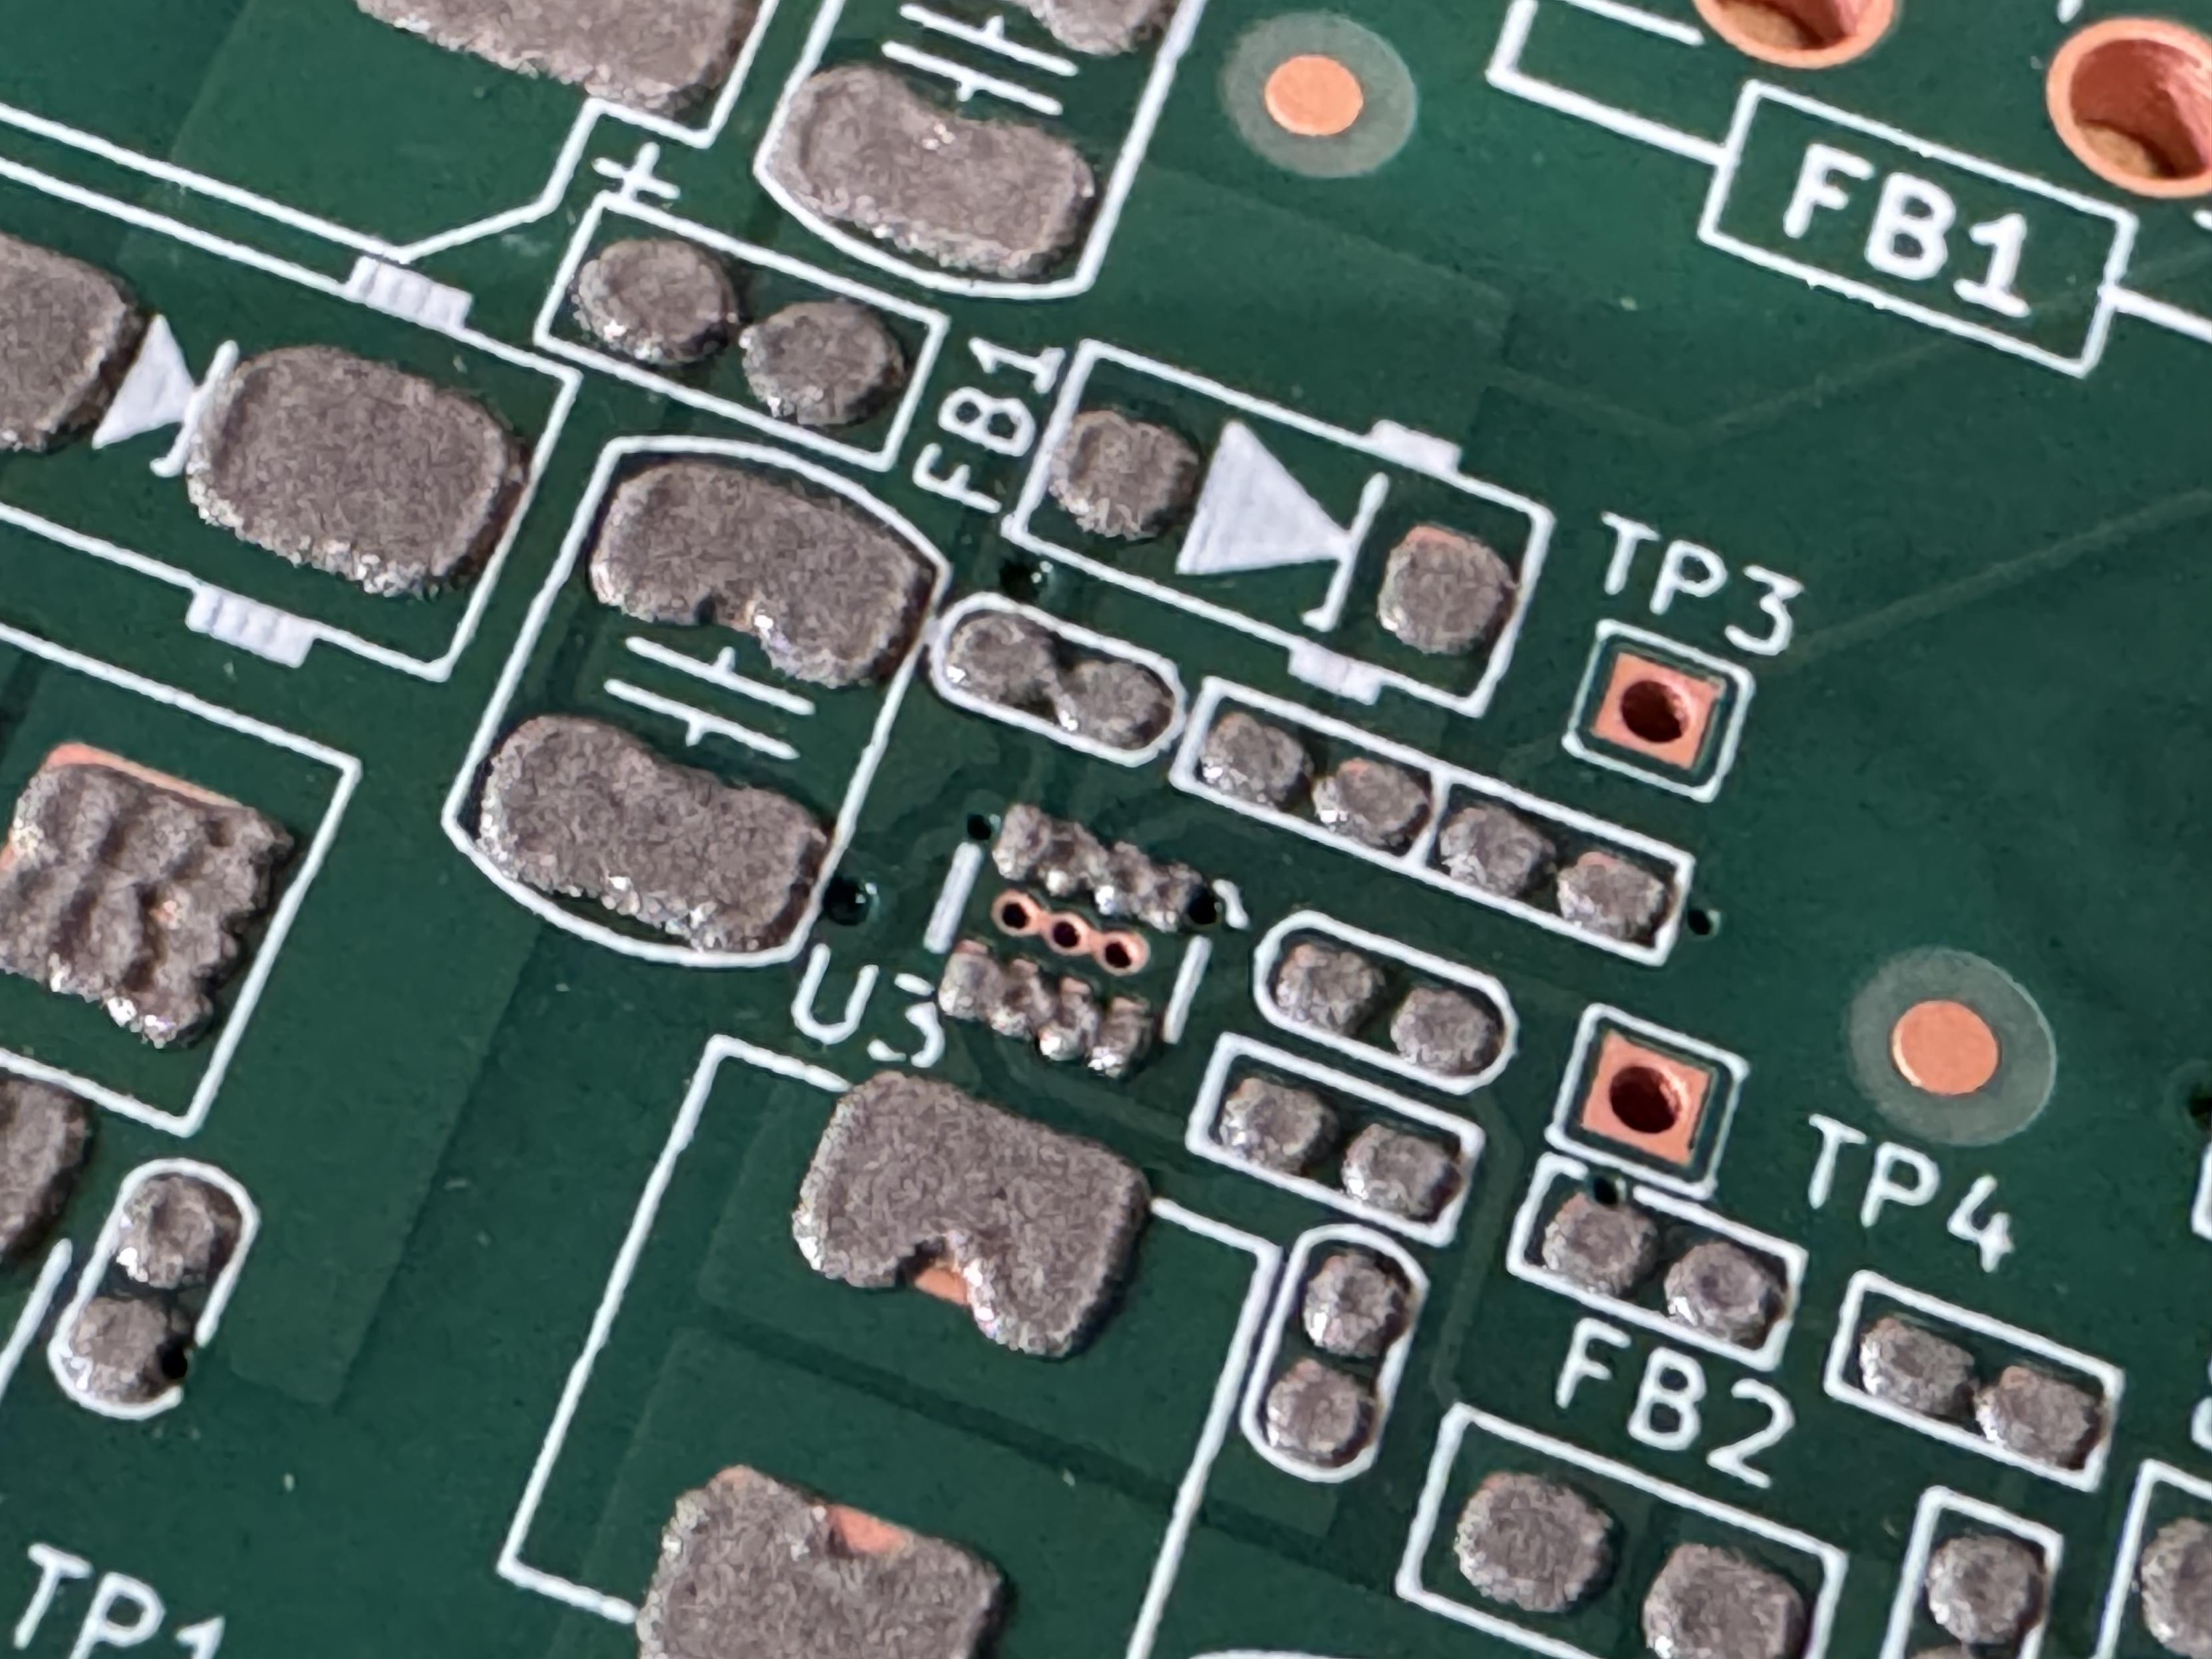
Yeah okay this works stupidly well. The smallest footprint on the board is this SOT-563, and I can’t see any green soldermask on the first position attempt
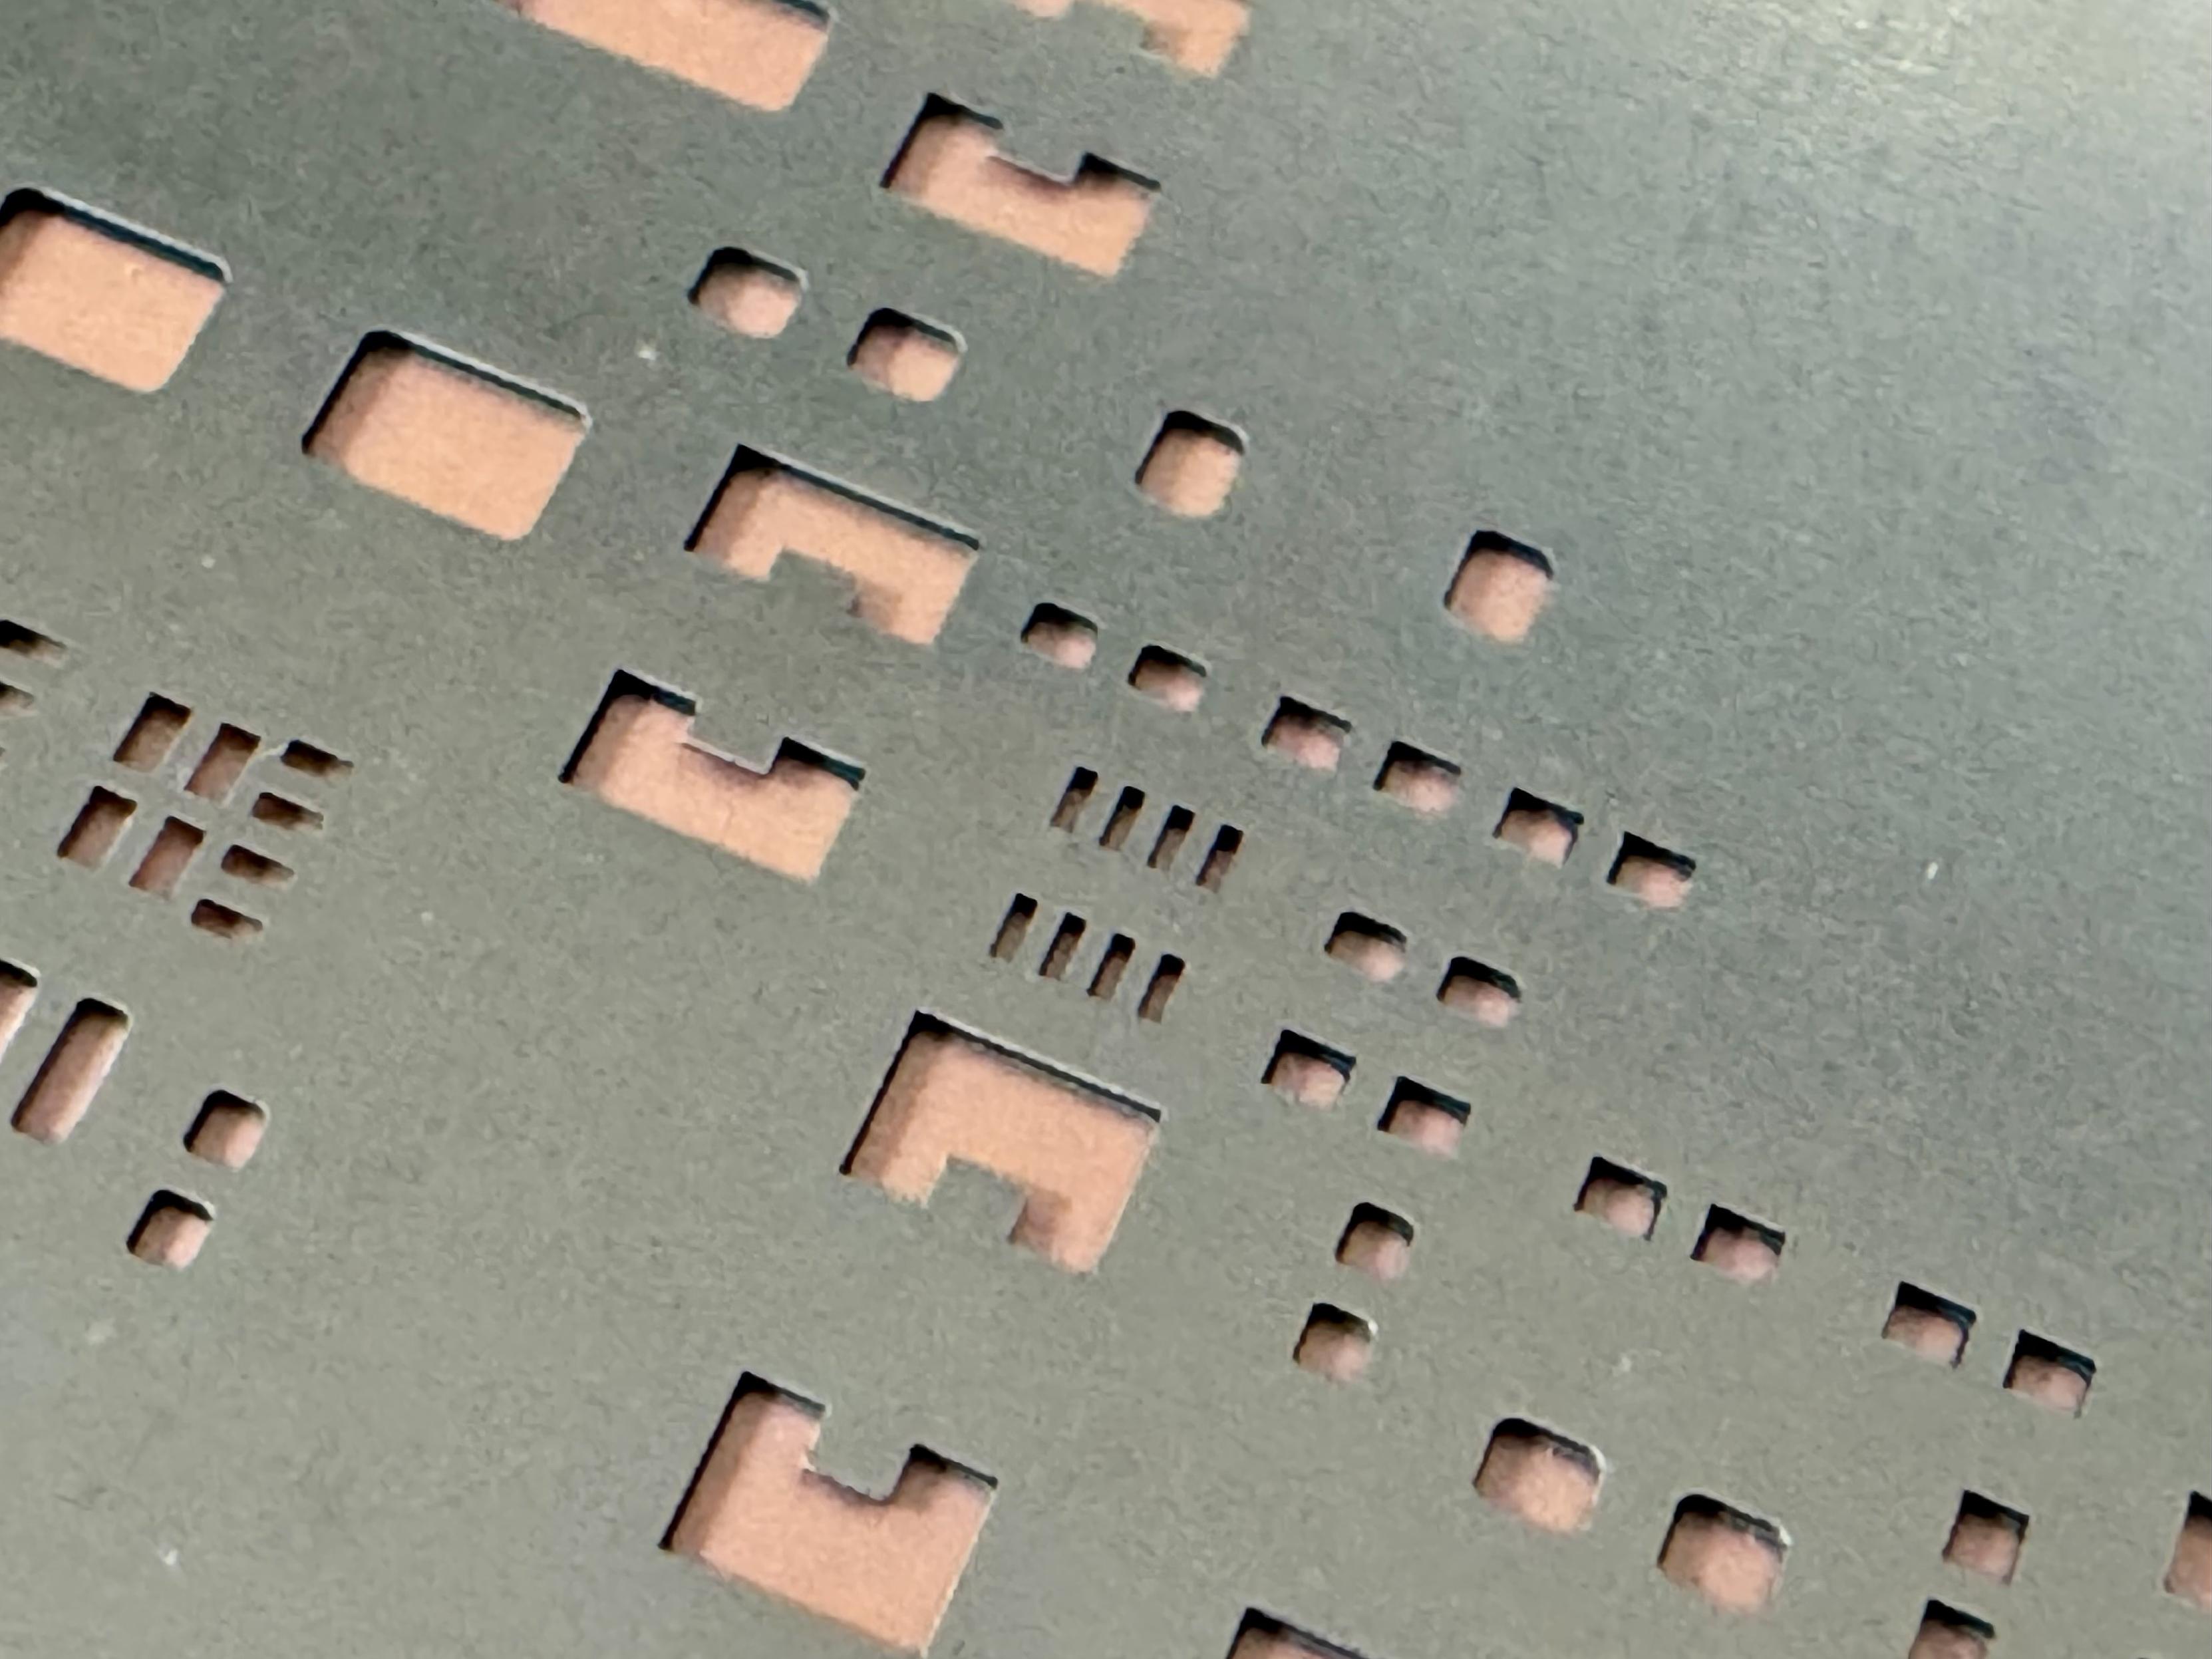
Oh dear, I think this paste has turned to shit. I’ll give it a go anyway because there seems to be the correct amount there
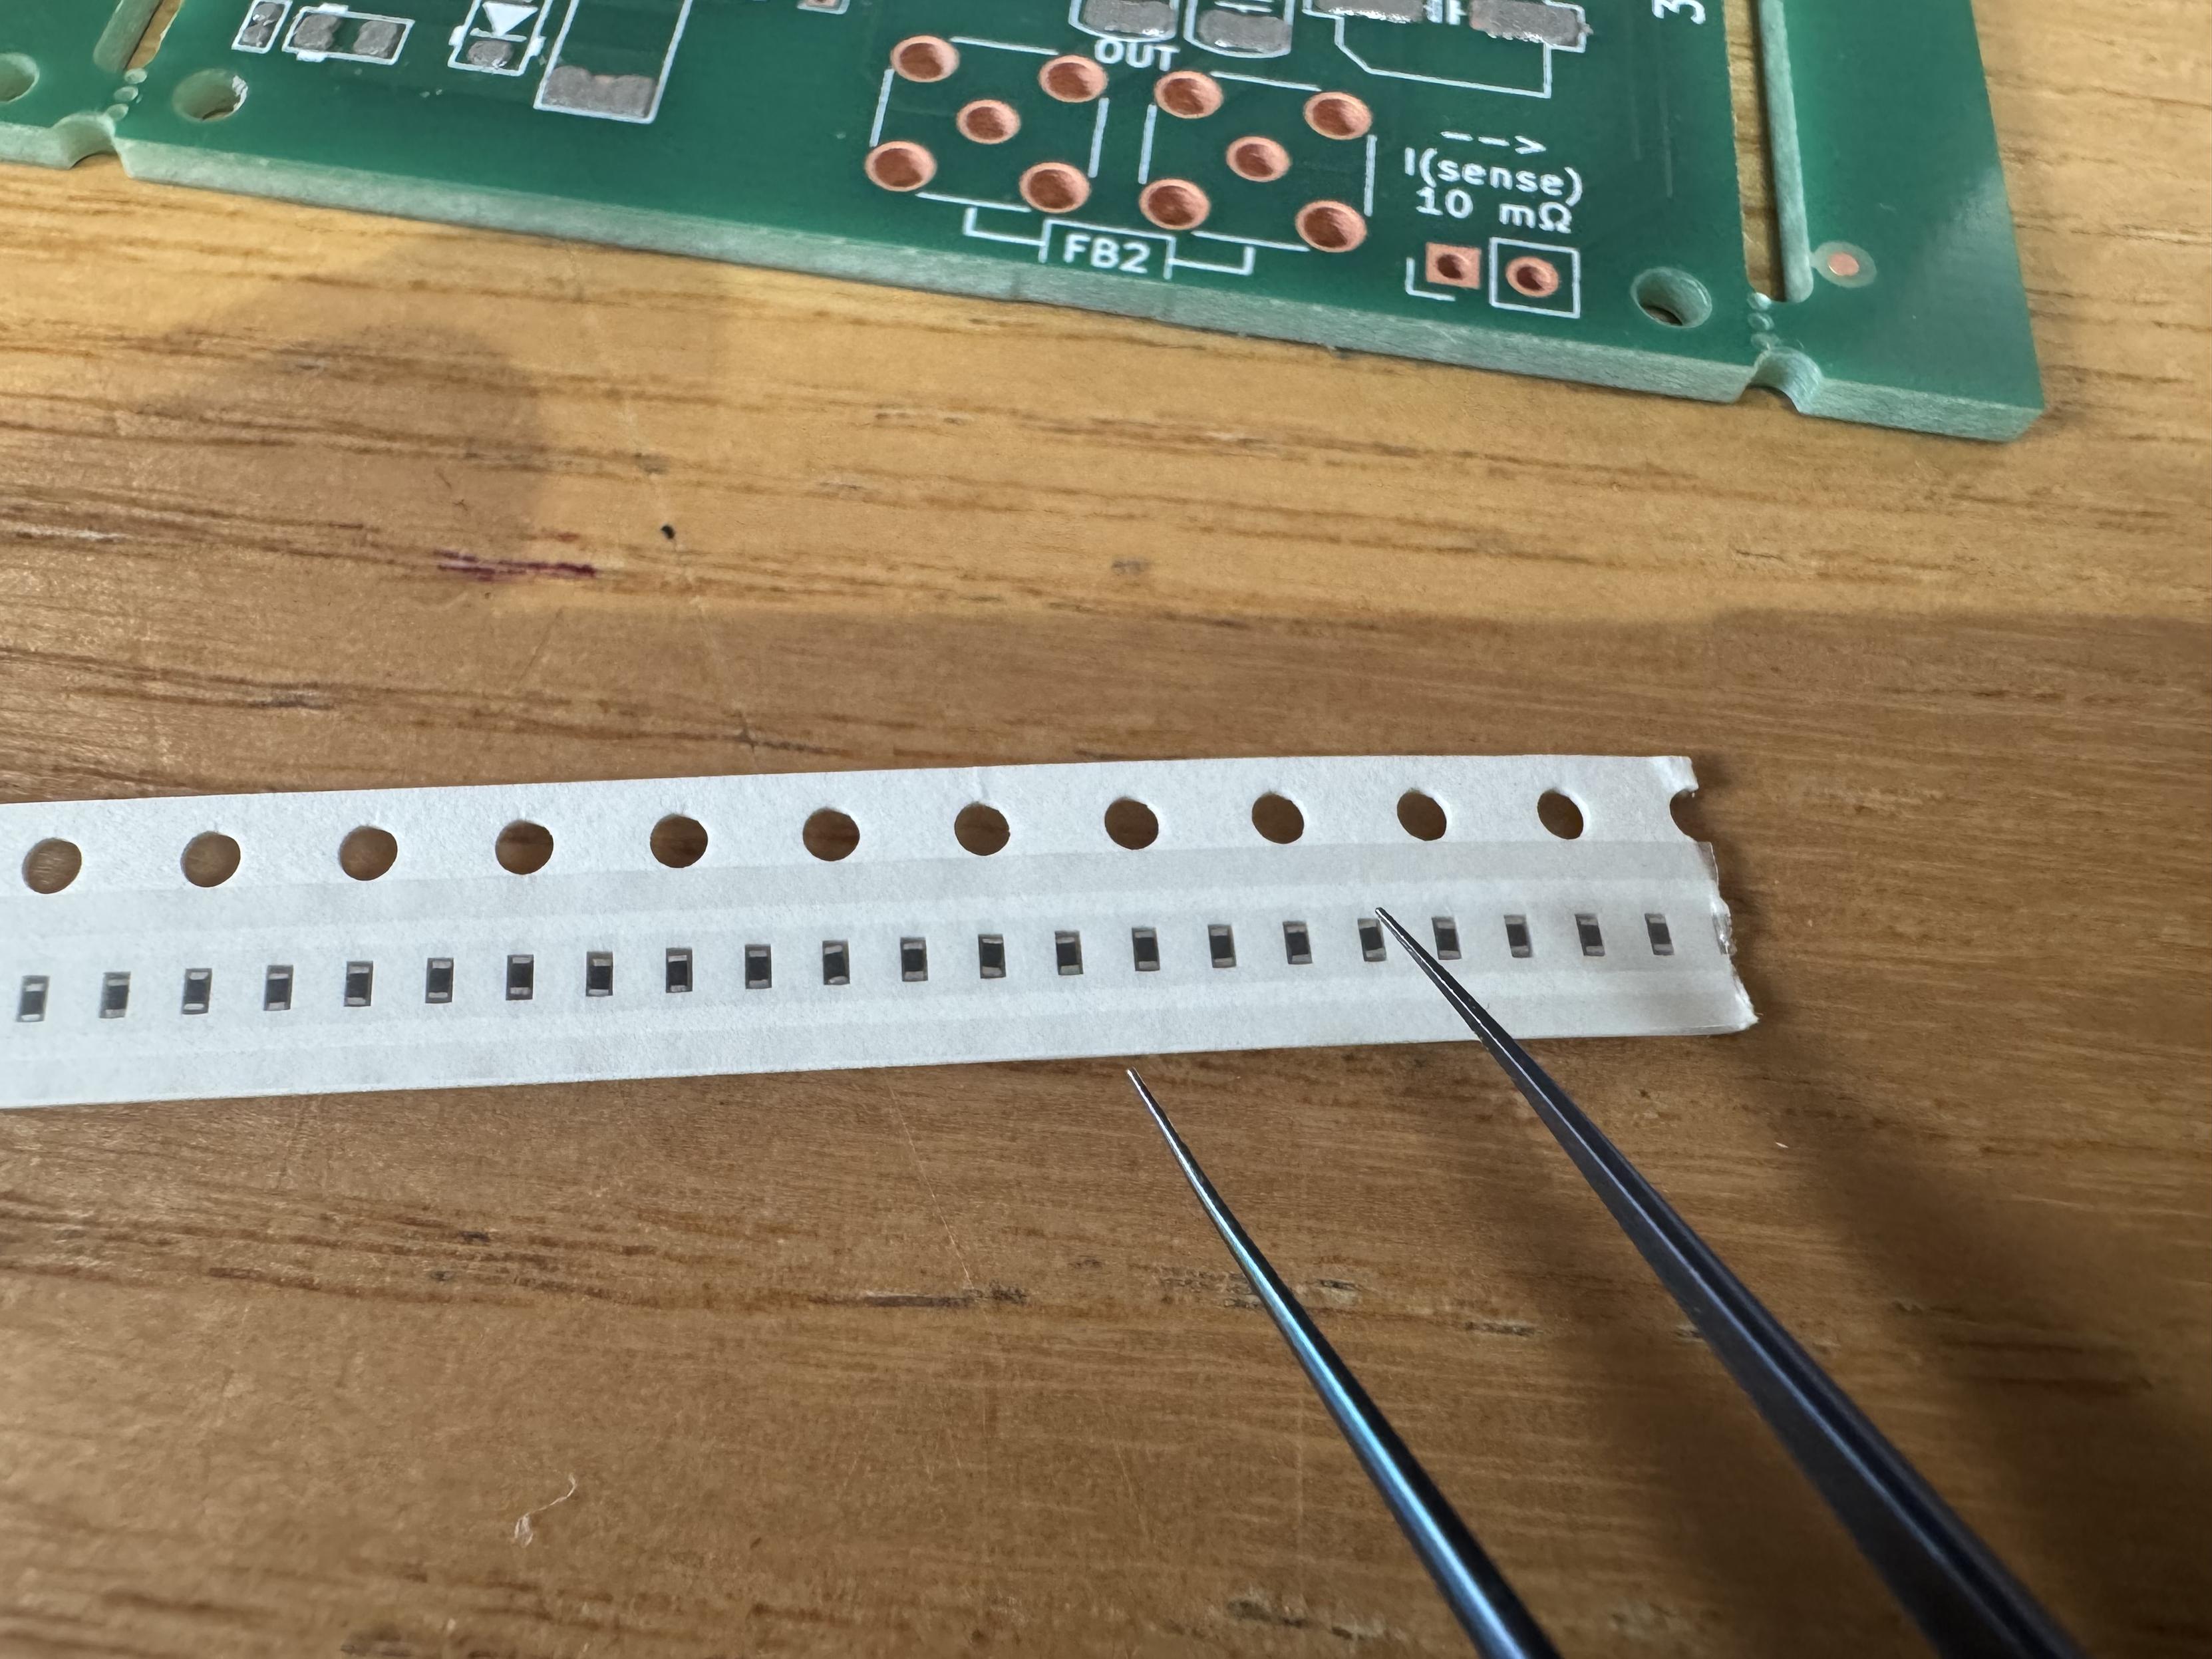
Hand-placing time! I need a PNP machine
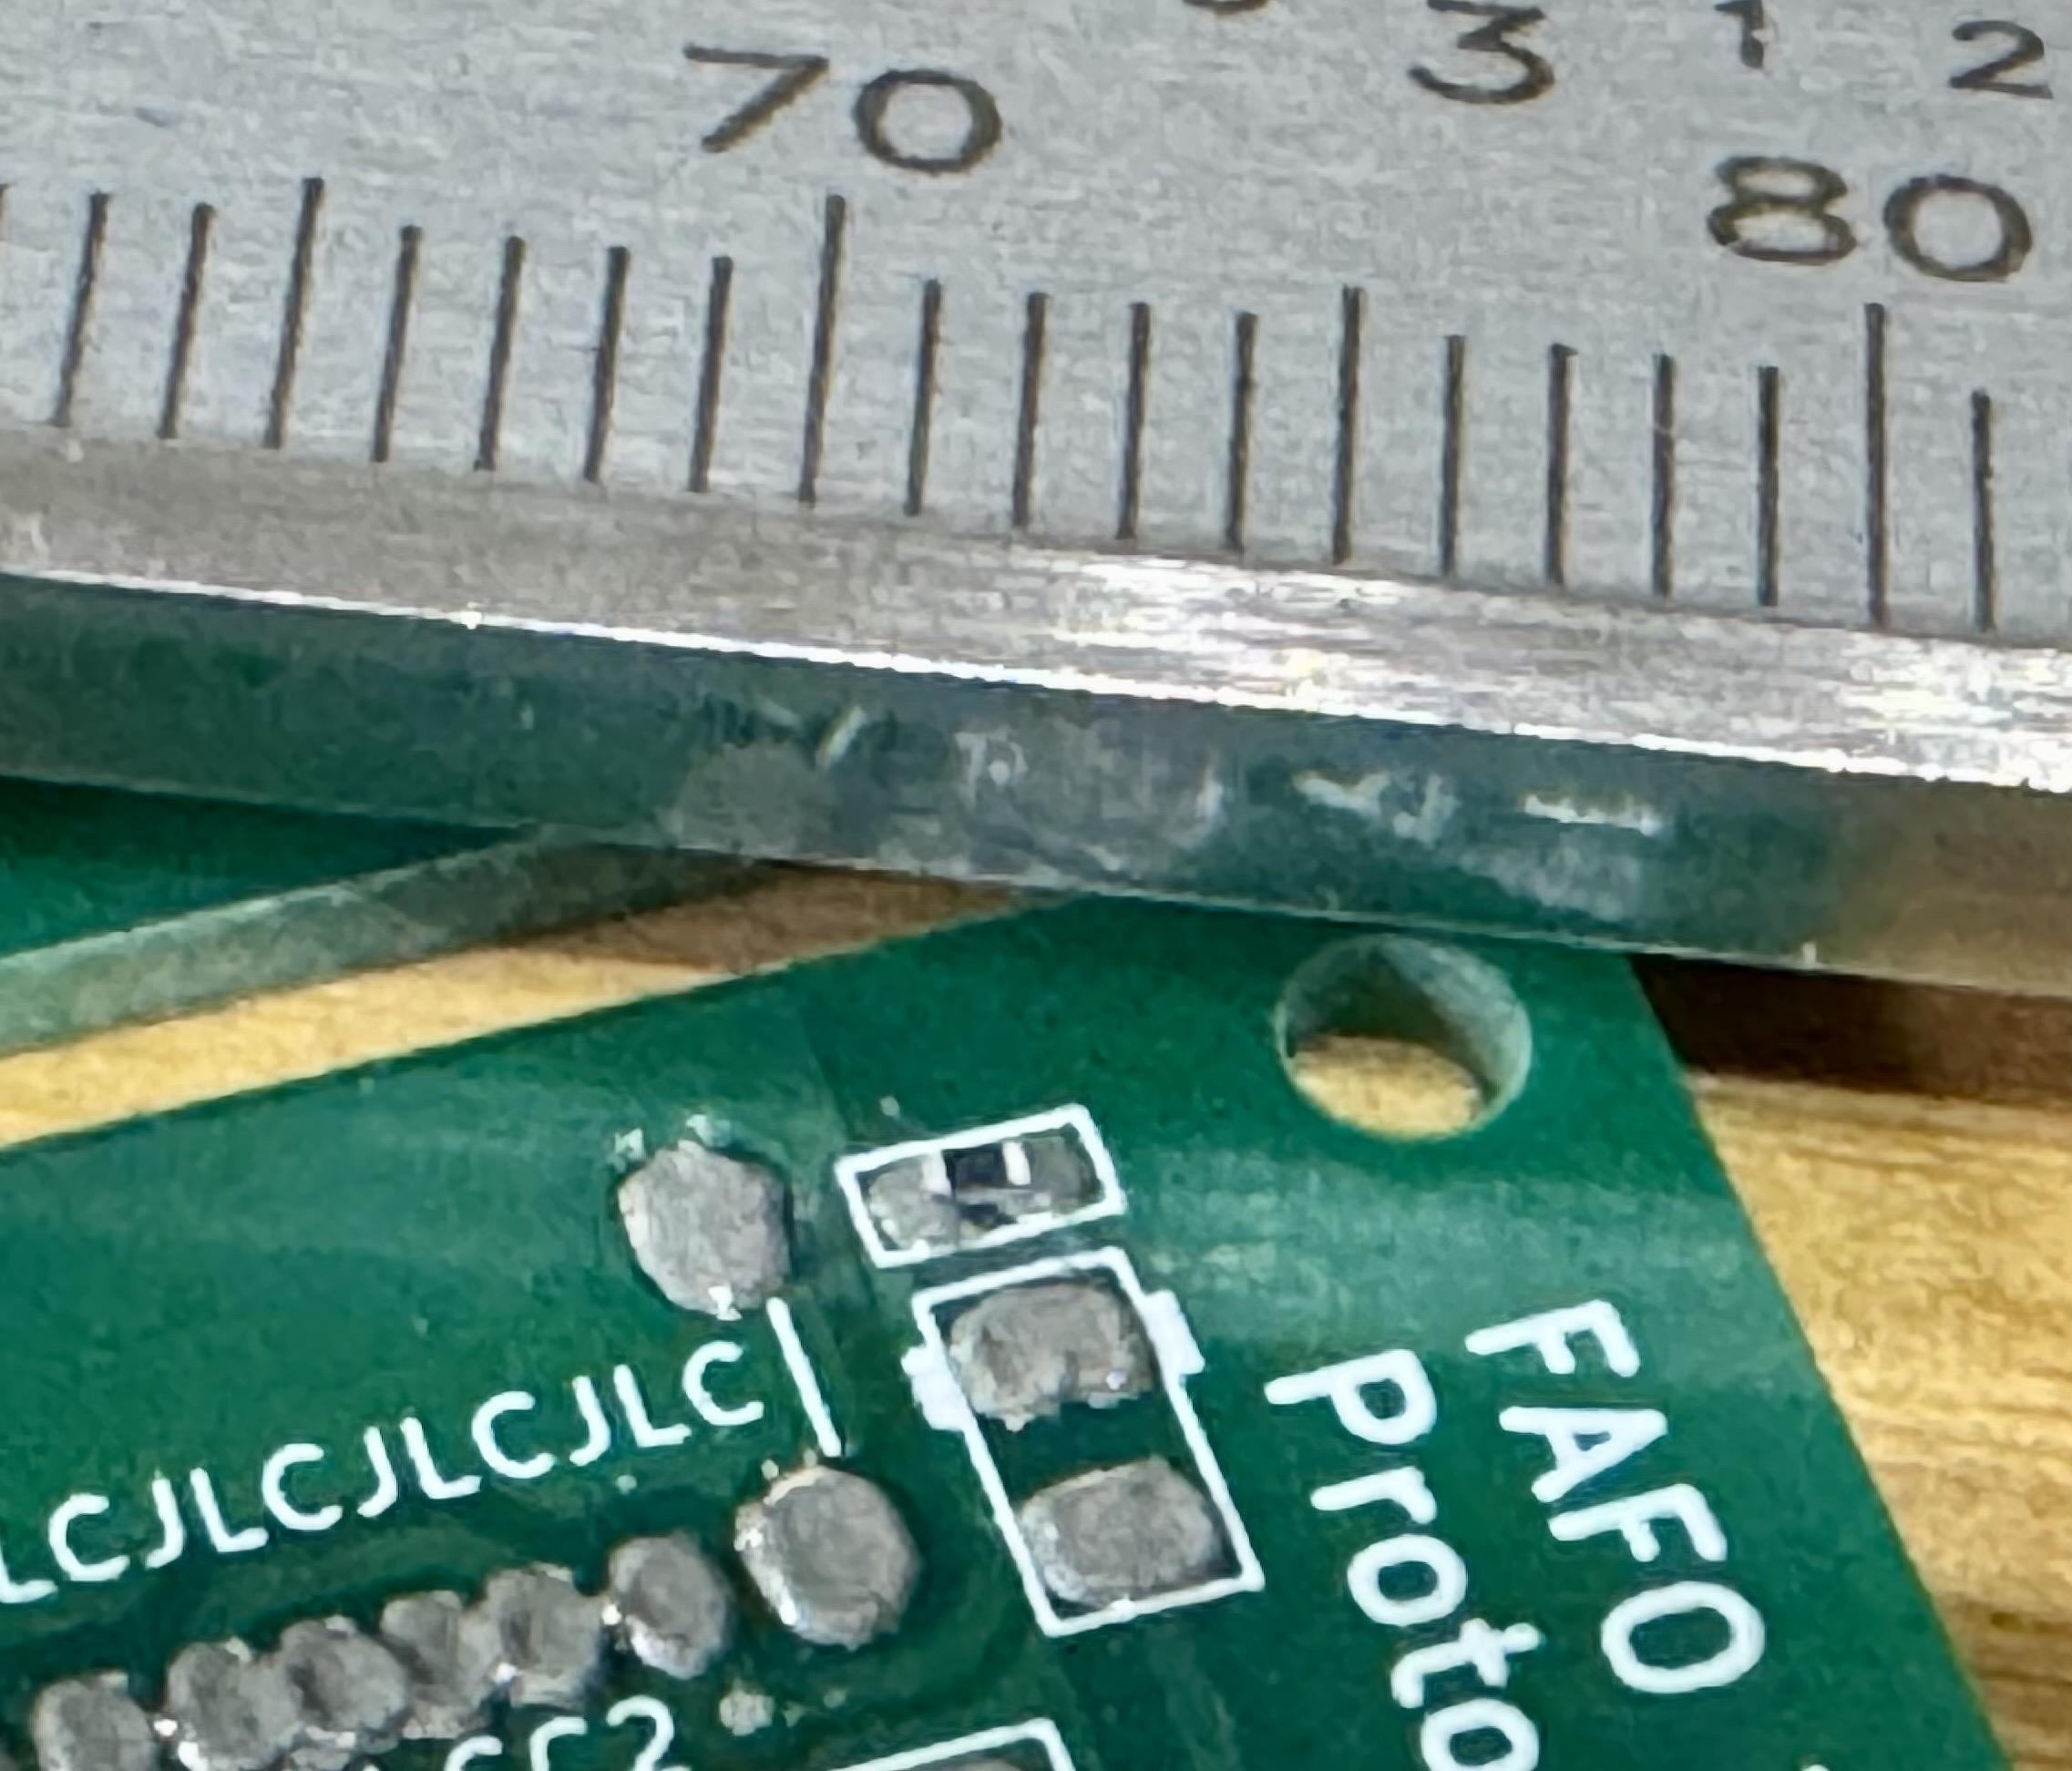
2 down, eleventy billion to go. 1mm division ruler for scale
Getting there…
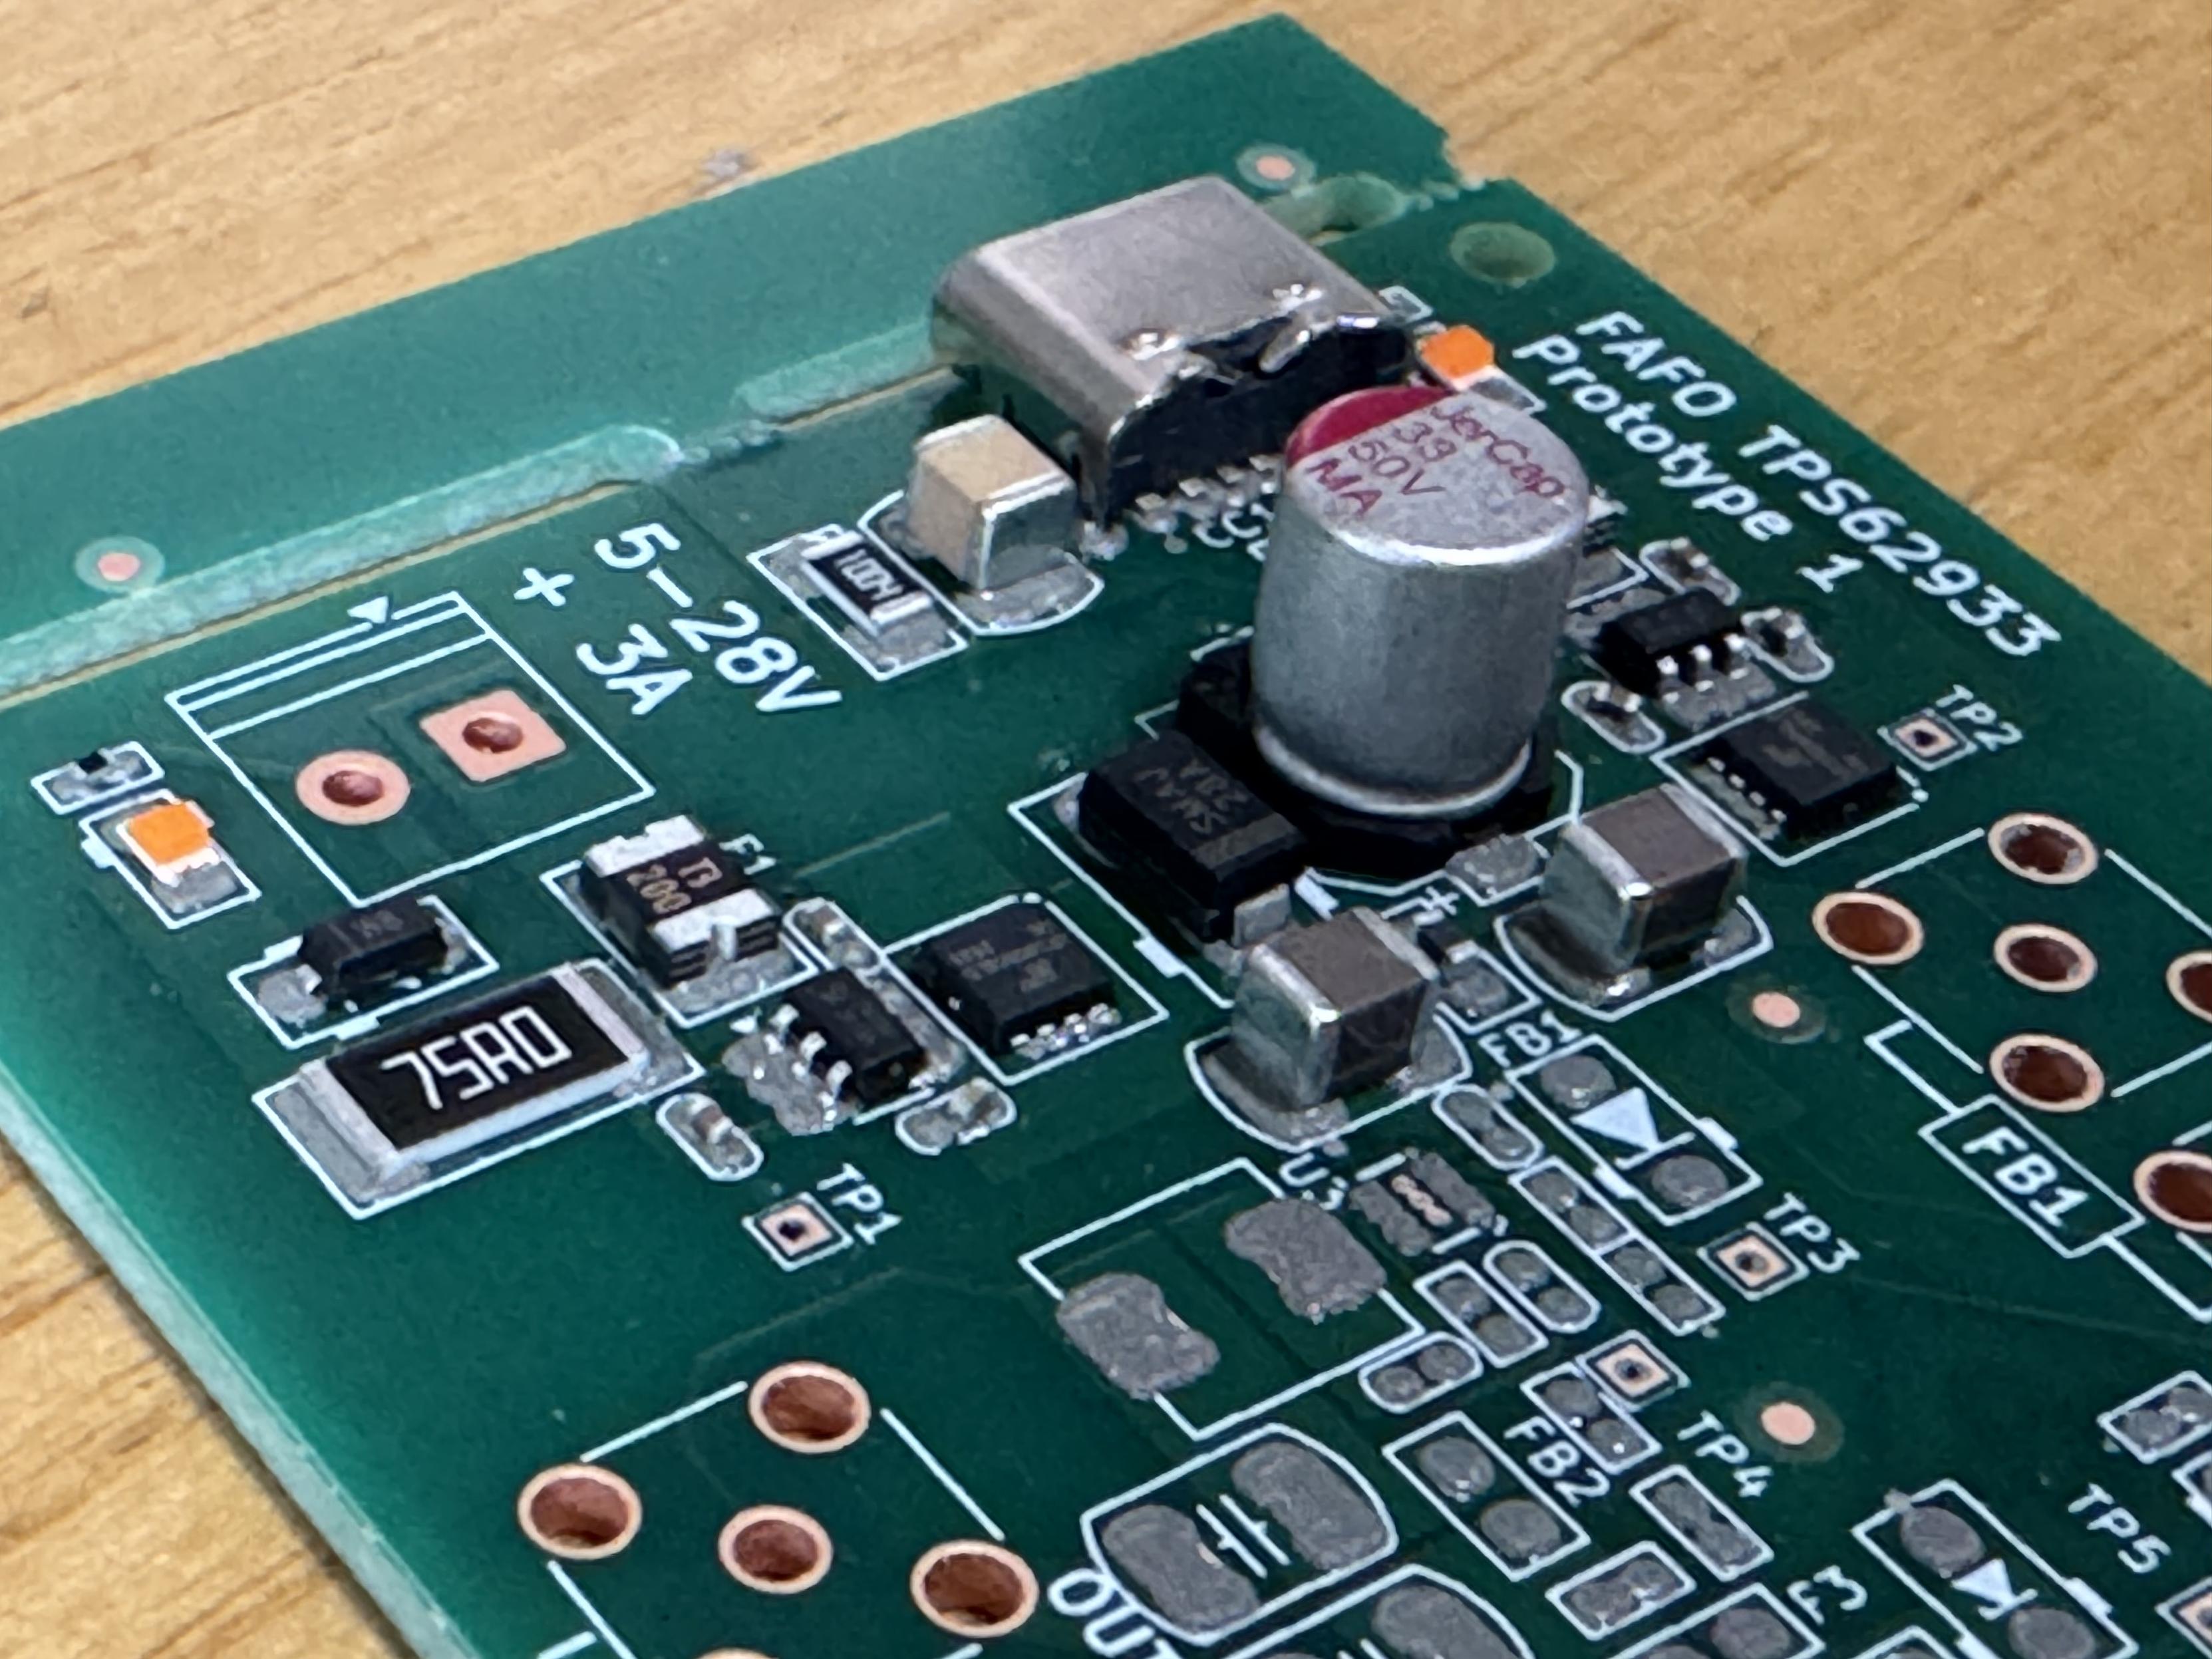
Ugh done. Now bake at 250°C for 30 seconds

@jpm Instant fave for the stencil alignment pins and the silkscreen saying FAFO Prototype.