Discussion
Loading...

Post

  • About
  • Code of conduct
  • Privacy
  • Users
  • Instances
  • About Bonfire
Tim 馃幃
@timixretroplays@digipres.club  路  activity timestamp 2 weeks ago

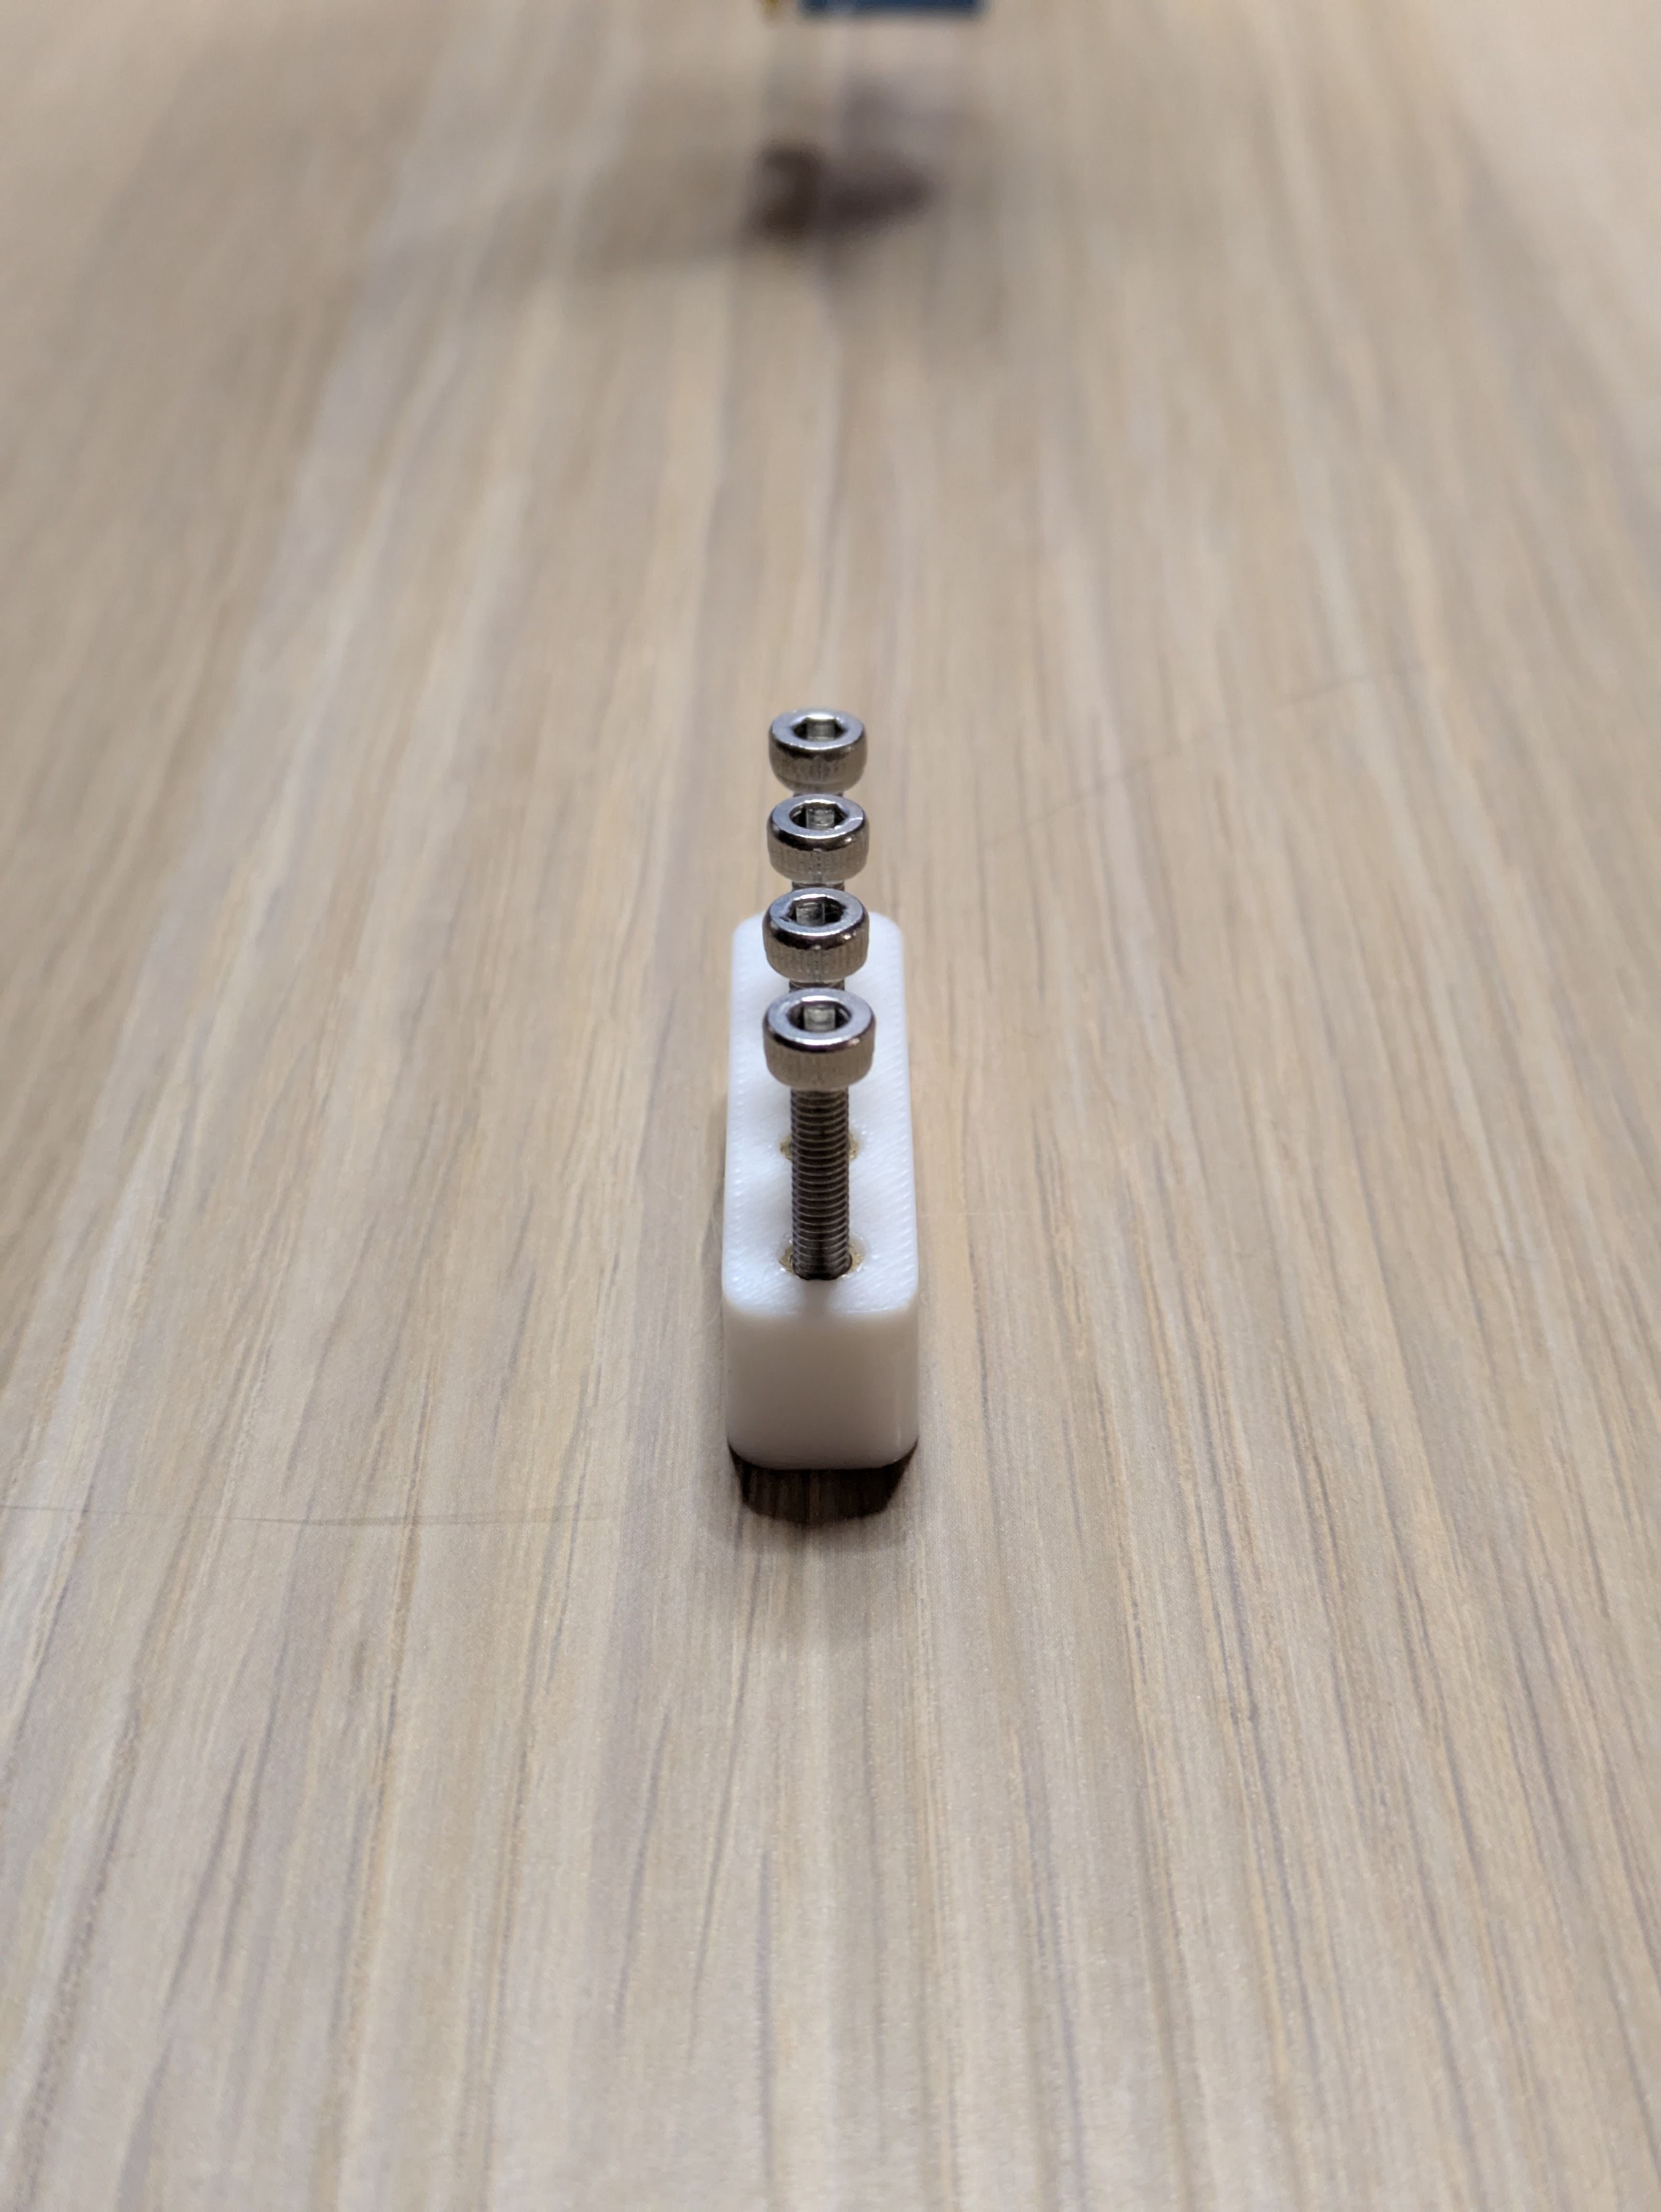
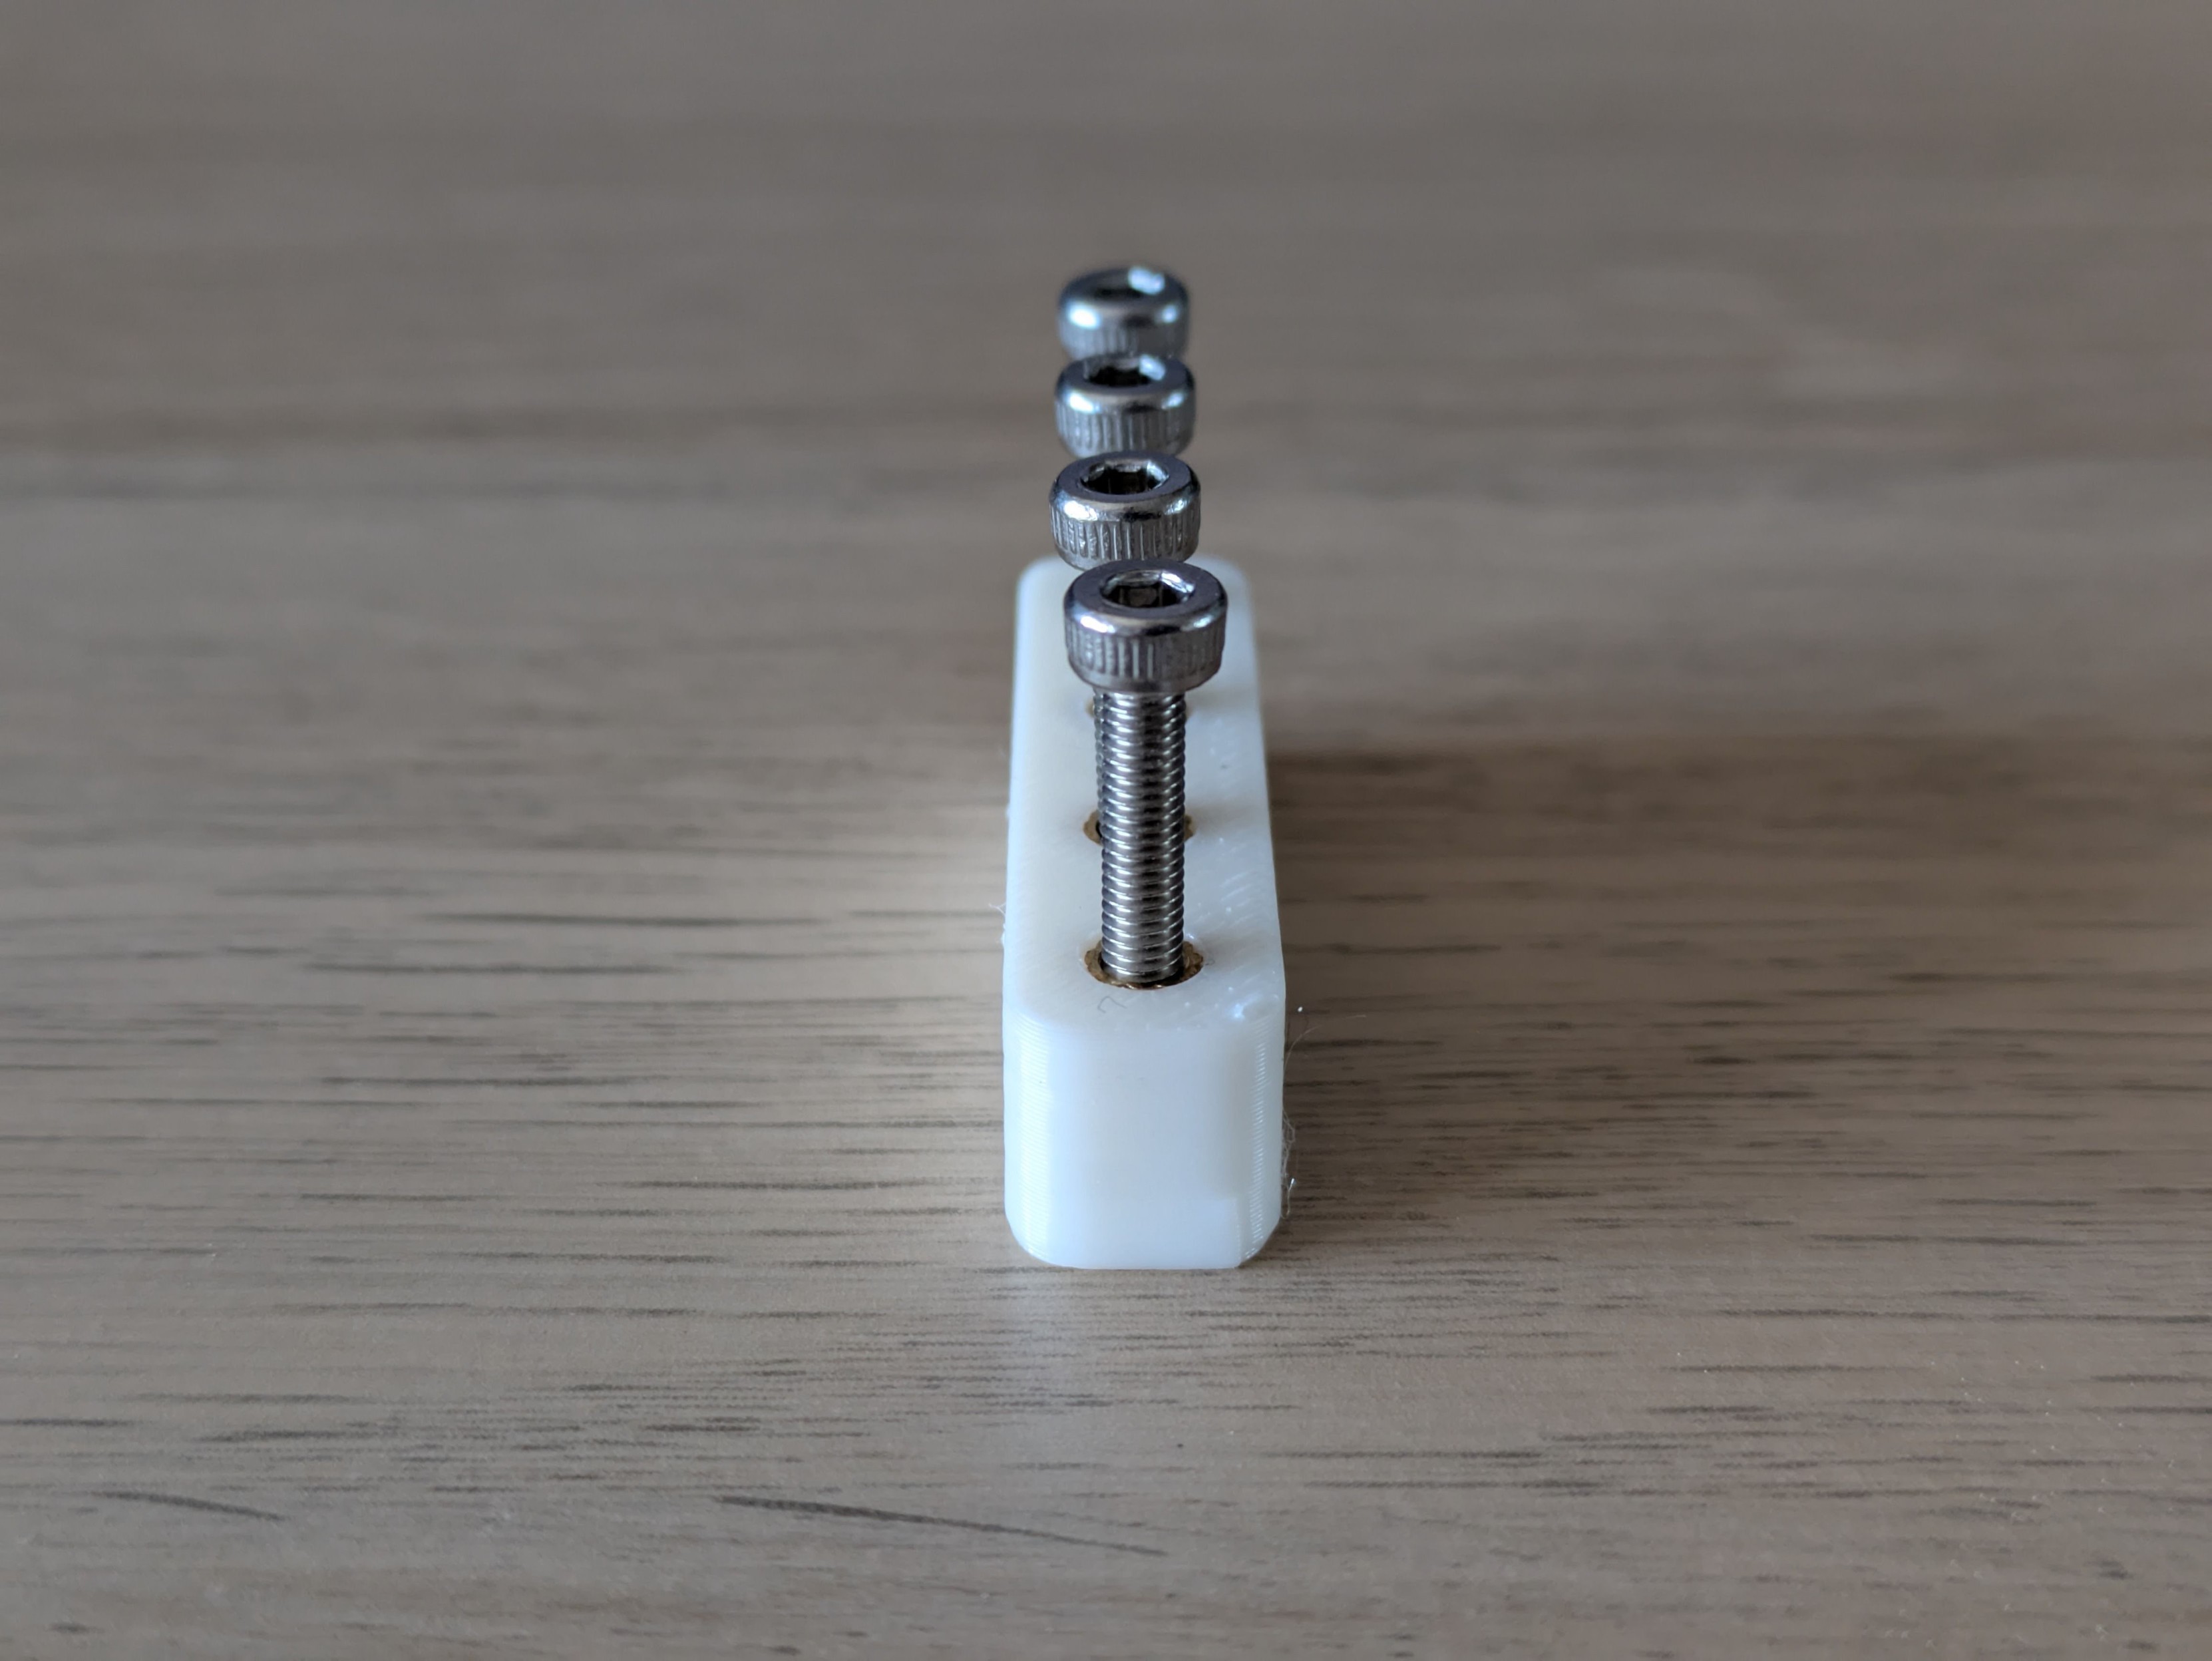
Left: The most accurately I could install threaded heat-set inserts freehand a couple of weeks ago. Right: What they look like when pressed into place using my parallelogram jig. I think the results speak for themselves.

You don't need to buy an expensive kit with heavy metal parts to accurately use heat-set inserts. Just some 3D printed bits and bobs that don't even need inserts to assemble - just screws.

If anyone in Australia thinks they'd like a kit of this thing, let me know.

#3DPrinting

A photo of four silver bolts screwed into a similar 3D printed part. This time, the screws are basically perfectly in a line with no visible wobble.
A photo of four silver bolts screwed into a narrow rectangular 3D printed part. The screws are subtly out of alignment, suggesting the parts they are screwed into are not accurately lined up.
  • Copy link
  • Flag this post
  • Block
Log in

bonfire.cafe

A space for Bonfire maintainers and contributors to communicate

bonfire.cafe: About 路 Code of conduct 路 Privacy 路 Users 路 Instances
Bonfire social 路 1.0.0-rc.3.21 no JS en
Automatic federation enabled
  • Explore
  • About
  • Members
  • Code of Conduct
Home
Login